More cards for the Trivia Night Silent Auction Basket. This one using K&Companys paper stack, Spellbinders Fleur Di Lis Doily Accents, Classic Circles and Labels 20, Marthas Doily Lace Trim Double Edge Punch, Stickles for sparkle and Pop dots for dimension. Love using up those scraps!
This one is very similar to a make and take I did at Archivers, only this was made with my stamps/dies/punches. Spellbinders Grand Circles and Lacy Circles were used under the stamped image. The border was done using one of Martha's Punch around the page punches. I used versamark to stamp the background and lined the inside with white so the border would show better. A little bling is always a good thing, tiny bits on the stamped image.
I scraplifted this from a group of talented ladies at the last crop I went to (2 weeks ago). They always find the cutest cards to make. This is one of those cover up your mistakes cards. I tested the sentiment on a scrap, then reinked the stamp (I thought, only the little plastic cover was still covering the opaque ink) and goofed it up. So I covered it up. Not a complete loss.
The inside has the punched/embossed hearts. I just love hearts....can you tell lol!
This card used a cuttlebug embossing folder, a heart punch, Stazon Opaque White ink and you guessed it...scraps!
More cards to come!


 B
B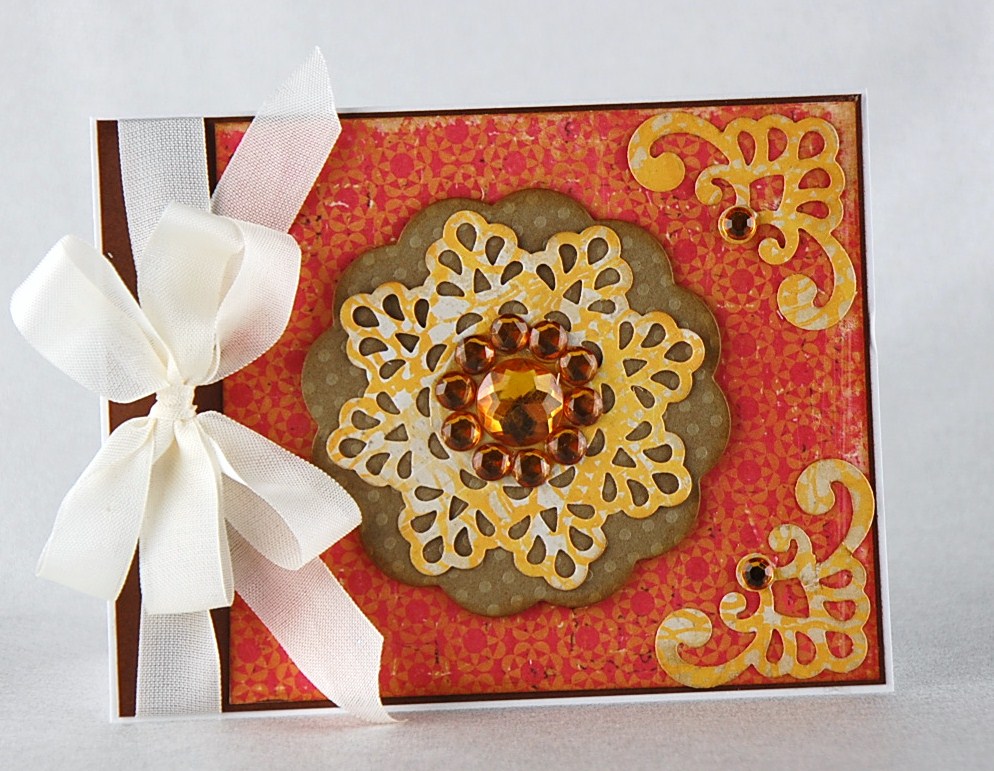


