Showing posts with label Diecuts. Show all posts

Wednesday, January 6, 2021

Pickup Truck Birthday Card

 The Big Pickup Cab stamp and die just called to me.  I had to have it and a few others from Honey Bee Stamps, so I indulged!  Now was time to play and have some fun doing it.  

http://beverly2hearts.blogspot.com


Once the truck was stamped on copic friendly paper with amalgam ink, I went to town coloring, and it really is an easy image to do that.  A little sparkle pen over the "metal" parts gave some shimmer.  The emblem was die cut using mirror card stock.  Also stamped were the wiper blades and the sentiments.  So cool that HBS includes dies for the sentiments too!  All the die cutting went through my Gemini Jr.  This was the first time I brought out the Burlap die and added a little Vintage Photo Distress Oxide ink around the edges.  Then I adhered it to the ivory card stock using Honey Bee Glue, I like that it is a larger tube-makes it a little easier for me to hold.  Next I added the pickup and a few silver baubles that I had in my stash.

Affiliate links used at no cost to you.  Not all links are affiliate, I just want to share what I used.  All products were purchase by me unless noted.  I don’t sell anything nor am I employed.  This is my hobby and I hope to inspire you to play :)

Sunday, April 10, 2016

Creating Keepsakes Convention - Had a Blast!

My bestest buddy (Becky) and I have been going to the CKC for many years!  So many years that we drove to Nashville TN before they started coming to St Louis MO - Now that's devotion!


We have noticed that the number of Vendors has diminished over the years.  We were very sad when Embellish It and Technique Tuesday stopped because we always looked forward to their classes. Boooo 


This year we took 4 classes and all but one was new for us.  The Thursday night Technique Class always offers a "Head Start" on all the newest products/techniques offered.  It's a three hour class and this year we made 6 items.  One jewelry item from Craft Fantastic, one card from Queen and Company and the rest were layouts from: SEI, Lickety Split Scrapbooks, The Paper Loft, Kellers Creations and Creating Keepsakes.  Now we don't actually complete all those items, but we get the skinny on the technique/product and move on.  This one is by Likety Split Scrapbooks.


Friday we took a Creating Keepsakes Class called the Newest and Coolest for 2016.  This is a lecture class along with a bag full of product - $130 worth, and the cost of the class was in the low $50 range.  Seems like 52, 54?   Here are some of the goodies.


Now we always choose more classes on Saturday because we shop on Friday.  This year we took The Stamps of Life Class on Cards.  I highly recommend this class and or any class by Stephanie Barnard.  She's a great teacher, her products are awesome and below is one of the cards.  We also made a Box Card and Pop Up Card.  For some reason my computer is being stubborn because the edits I did in Microsoft Office are not working properly and I hate to turn my head sideways to see the silly picture.


Next we took Stamplistic Class, Stacked and Gorgeous.  These were very beautiful, expensive and time comsuming cards that have real Swarovski Crystals on them.  And here are the two cards we made.


So, my advise:  If you have an opportunity to attend a Creating Keepsakes Convention, plan ahead, go online and select and purchase classes.  If you pick three classes you gain free admission both days of the Vendor Fair and gain early access pass.  Take your best buddy and have a ball!!!

Friday, April 1, 2016

Pop Up Birthday Card - Surprise!

I just love playing with Scrappy Stuff!  A while ago I was at Michaels and they had bags of merchandise for $2.00.  Full bags!  I bought three of them and they were loaded with all kinds of goodies: flowers, scrappy stuff, doilies, stamps, cardboard albums (to decorate).  Now, why am I telling you about this now?  The doily is from one of those bags.


The background paper is from Nana's Nursery Baby Boy Stack that I purchased at Hobby Lobby a long time ago.  I made a bow using seam binding and the sentiment is one I printed off and cut to have handy.  A little washi tape, button and little Scrapper Spools twine made this card come together.  Now for the inside... I used The Stamps of Life 3D Drop Ins Scallop Gifts, and their sizzix adhesive before I cut the sentiment again in white.  Made it super easy to adhere.  Love that stuff!


Have a great day and keep on creating!


Wednesday, March 2, 2016

Why Not Make 4 Cards Instead Of One?

It is my opinion that once you cut into a piece of cardstock or pattern paper, why not use most of it up?  These days, I'm selecting the papers I'm going to use and if I'm not using scraps, then I'm making four cards.  Yes, four of the same card. 


I selected 3 patterned papers all 12x12 and then 2 pieces of 8 1/2 x 11 cardstock for the card shown below.  I used some black scraps and attached Sizzix adhesive sheets to the back to die cut my sentiment.  Dies are from The Stamps of Life.  These pattern papers were from The Paper Studio from Hobby Lobby and a textured piece from a clearance pad at Michaels.  I cut all my pieces, inked those puppies up and adhered them.  Every card needs a bit of bling and some ribbon so I grabbed some from my stash.  My hand is reaching for the ATG runner, the Herma Dotto Runner and Zots for adhesive.  I have to figure out how to label my Zots (outside the box) to easily find the right size - oh the troubles of having too many.  lol


Have a great day!

Wednesday, February 17, 2016

Made my first Exploding Box Card


I have thought these cards are just adorable, I've seen so many on pintrest and the possibilities are unlimited.  But I'm not one to sit and measure and fold etc.  That's why I was super excited when The Stamps of Life came out with their Box Card Die Set.  Just run that sucker through my Big Shot on the extended platform and walaaa!  All the side panels are included and a whole host of flowers, leaves and such. 


Now, I like to mix and match and I have quite the collection of dies.  While I was recovering from surgery I took several of those dies and used up scraps with Sizzix Adhesive Sheets on the back and cut oodles of tiny bits.  So this card has dies from Happy Birthday Step Ups, Mail Box Dies and stamps happymail2stamp.  All from The Stamps of Life.  Stephanie Bernard had lots of videos showing how to use her products.


I did use the Kuretake Gansi Tambi 36 Set Watercolors to color the mailbox and Tombow Brush Markers to color the bird.


Here's the other view.


Thursday, February 11, 2016

I Love You More Than Cupcakes


Got to love Silhouette!  If you don't have one, you really need to think about getting one.  This image was from the Silhouette Store.  It was super easy to download and cut.  More of my cards these days have doodling on them.  The Cupcakes are actually die cuts from The Stamps Of Life Happy Birthday Step Ups


My stash of saved scraps were starting to take over my craft area.  So I started with my pile of scraps and my pile of dies and started using some of them up.  Once I have a bunch together, I sit, glue, doodle all while sitting in front of the tv.  Then when I need an embellishment, I have a stash.


Hope  you have a great day!

Thursday, November 5, 2015

This little Sweetie just turned 3

My adorable Grandson Jacob just turned 3 and his Mimi (me) had to make his card.  Here's him blowing out candles on his new ride (from Great Grandparents Sugar and Big Daddy)
Those cupcakes have Avengers Rings which goes along with the Captain America Theme!

Here's the card I whipped up using what I had close by.

I'm sorry this isn't the best quality picture.  I used a stack from The Paper Studio (Hobby Lobby's brand).  I snatched one of my precut dies (made with scraps ahead of time) from Stephanie Bernards The Stamps of Life, buttons, floss, ink and went to town.  Love using pop dots to raise the sentiment and the number.

I'm off to make a Baby Card.  Have a great day!

Tuesday, April 30, 2013

Photo Shoot

Isn't he adorable?  Yes, I'm prejudiced, he's my Grandson, Jacob.

Well Jacob, his Mom Sara, his Aunt Ellie and Me (Mimi) set out to take some pictures of this little handsome man.  Yes, it took 3 of us.  Mainly because I was still recovering from surgery.

Echo Park's Times and Seasons line has moustache paper, perfect for this layout, in fact all the papers on this are from this line with the exception of the journaling spot.  It was made using brown kraft card stock and Spellbinders Labels 18 with bling from Want2Scrap.

EK Success Border punch was used on the navy blue and finally I had a bit of black tulle that I tied in a bow.

Friday, April 19, 2013

It's A Boy Thing Layout

Just some fun silly pictures of my Grandson Dominic doing what he does best - having fun!  The papers are from The Paper Studio, Hobby Lobby's Line.  The title, stars and bike are Dazzles that I got at CKC.  The buttons, are actually die cuts that I made with Sizzix sizzlets die.  Got some washi tape and a few Tim Holtz goodies as well.

I do love this little guy!

Friday, March 1, 2013

Card using Teresa Collins

I've been crafting a little more and making some cards.  This one is done using Everyday Moments from Teresa Collins.

The die cut is Spellbinders Fancy Tags 3 and the pearls on the die are from Want2Scrap.  The pearls along the bottom are from Michaels Recollections.

Simple card, easy card, fun card!

Tuesday, May 15, 2012

Sympathy Card


I found a tutorial on Youtube  for this card here.  Loved it so much I used it for a sympathy card.  A family friend passed away and I wanted to make something special for them.  Basicgreys Green at  Heart Line was used along with Spellbinders Labels 18 and Marthas border punch.

Saturday, May 12, 2012

Kendalls Card


My sweet Niece Kendall just turned 15 so I wanted to make her a special card.  Using Basicgreys Wisteria line, I die cut all the parts using Sizzix Lilac Build A Flower Die.  Spraying Tattered Angels Mist on the leaves and on the background was a way to add sparkle.  I did use a chandelier mask for the background.  Copic markers and micron pens were used to accent the leaves and of course I added a little more bling with the gems and sparkly thread (that I snagged at Michaels - in the yarn section).  The leaves are raised with pop dots and were curled a bit to add dimension.  Finally a sentiment stamped using a $1 stamp from Michaels.

Friday, April 6, 2012

Moroccan Accents - Card

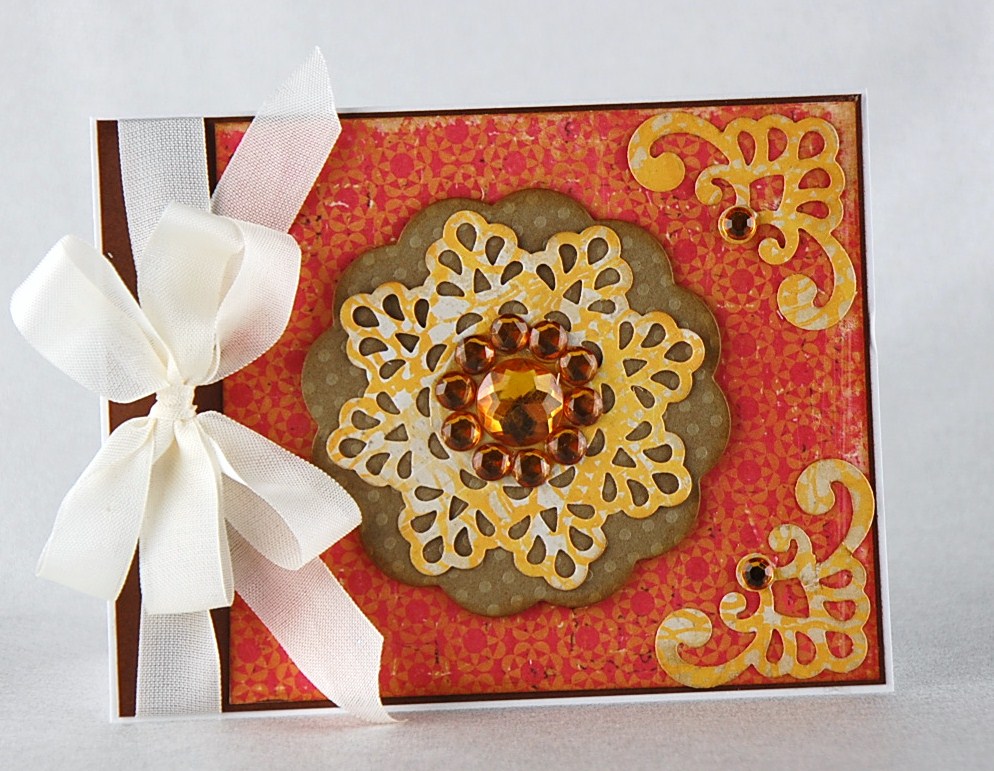
So my Daughter gave me a Thank You Gift, a Michaels Gift Card, recently, which I promptly marched myself into the Spellbinders Aisle and snagged Spellbinders Moroccan Accents dies.  This card was made after I scrapbooked two pages using  Crate Paper Restorations line so the scraps were handy to use.  At my last trip to Hobby Lobby I got a huge plastic container filled with bits of bling with a 40% off Coupon.  You can count on seeing more bling on my cards and layouts.  Bazzill Dotted Swiss, another favorite of mine, gets used quite a bit.  Just love the added texture.  To learn how to tie the perfect bow, just wander over to www.amazingpapergrace.com and click on tutorials.  Becca Feeken  does a wonderful job with her Peg Bow Tutorials, actually, all of her tutorials are Fabulous!

Sunday, January 29, 2012

More Cards

More cards for the Trivia Night Silent Auction Basket.  This one using K&Companys paper stack, Spellbinders Fleur Di Lis Doily Accents, Classic Circles and Labels 20, Marthas Doily Lace Trim Double Edge Punch, Stickles for sparkle and Pop dots for dimension.  Love using up those scraps!
This one is very similar to a make and take I did at Archivers, only this was made with my stamps/dies/punches.  Spellbinders Grand Circles and Lacy Circles were used under the stamped image.  The border was done using one of Martha's Punch around the page punches.  I used versamark to stamp the background and lined the inside with white so the border would show better.  A little bling is always a good thing, tiny bits on the stamped image.
I scraplifted this from a group of talented ladies at the last crop I went to (2 weeks ago).  They always find the cutest cards to make. This is one of those cover up your mistakes cards.  I tested the sentiment on a scrap, then reinked the stamp (I thought, only the little plastic cover was still covering the opaque ink) and goofed it up. So I covered it up.  Not a complete loss.
The inside has the punched/embossed hearts.  I just love hearts....can you tell  lol!

This card used a cuttlebug embossing folder, a heart punch, Stazon Opaque White ink and you guessed it...scraps!

More cards to come!

Sunday, November 27, 2011

Yes, I recycled my hubbys shirt for this years Christmas Cards

Being the thrifty scrapper that I am means recycling is a GOOD thing!  My hubby had on a shirt, a green plaid, and griped that he had a hole in the elbow.  He was ready to rip it off and toss it when I said "wait, throw that in the washer".  You should have seen the look I got.  


After that puppy was washed, I ripped it into thin strips and those green plaid strips are across this years Christmas Card.  I guess I'm gonna have to scrap that story....lol


My daily wander over to Amazing Paper Grace gave me the inspiration for this year.  It always takes me a bit to find a stamp I like, and paper that yells "me me", but once I saw this beauty I made my decision right away.  Becca's creations are always so lovely but I need to make 65 of these so I had to adjust my scraplift accordingly.


Here's my version
 The stamps are from Waltzingmouse Stamps and are available here.  Spellbinders 2011 Heirloom Ornament Die and Lacey Squares Dies were used.  The papers are all bazzill, with the exception of the kraft paper.  I like the way the linen texture looks with the heat embossing on it.  The gold swirls are Aleenes Paper Glaze with Recollections Gold Glitter and I just free handed the swirls.  My ornament is hanging with a paper clip that I cut and bent.

Wednesday, January 5, 2011

Easy Diecut Card


Black and pink are one of my very favorite color combos.  If you took a look in my scrap boxes sorted by color, you would find both the black and pink boxes very full.  I know that when I find some new must have embellie - I buy it in black, pink and white.  My poor little orange box needs some love.  lol

Back to the card, the pink and black diecut was made with Spellbinders dies and they are cut, embossed and stencilled.  Martha Stewart makes the border punch (one of my favorites).  A little ribbon and a tiny bit of bling completes it.