Hello there, I'm using some new products on today's card. I knew the moment I saw it, that I had to have the Piece of Cake stamp set from Honey Bee Stamps. Let me tell you, the two stamps I ordered came super fast and was packed with love! The other new element I used was an embossing folder that came with my gemini jr. Normally, I stick with my big shot for embossing folders but the included folder worked just fine. I do like the raised area along with the textured background.
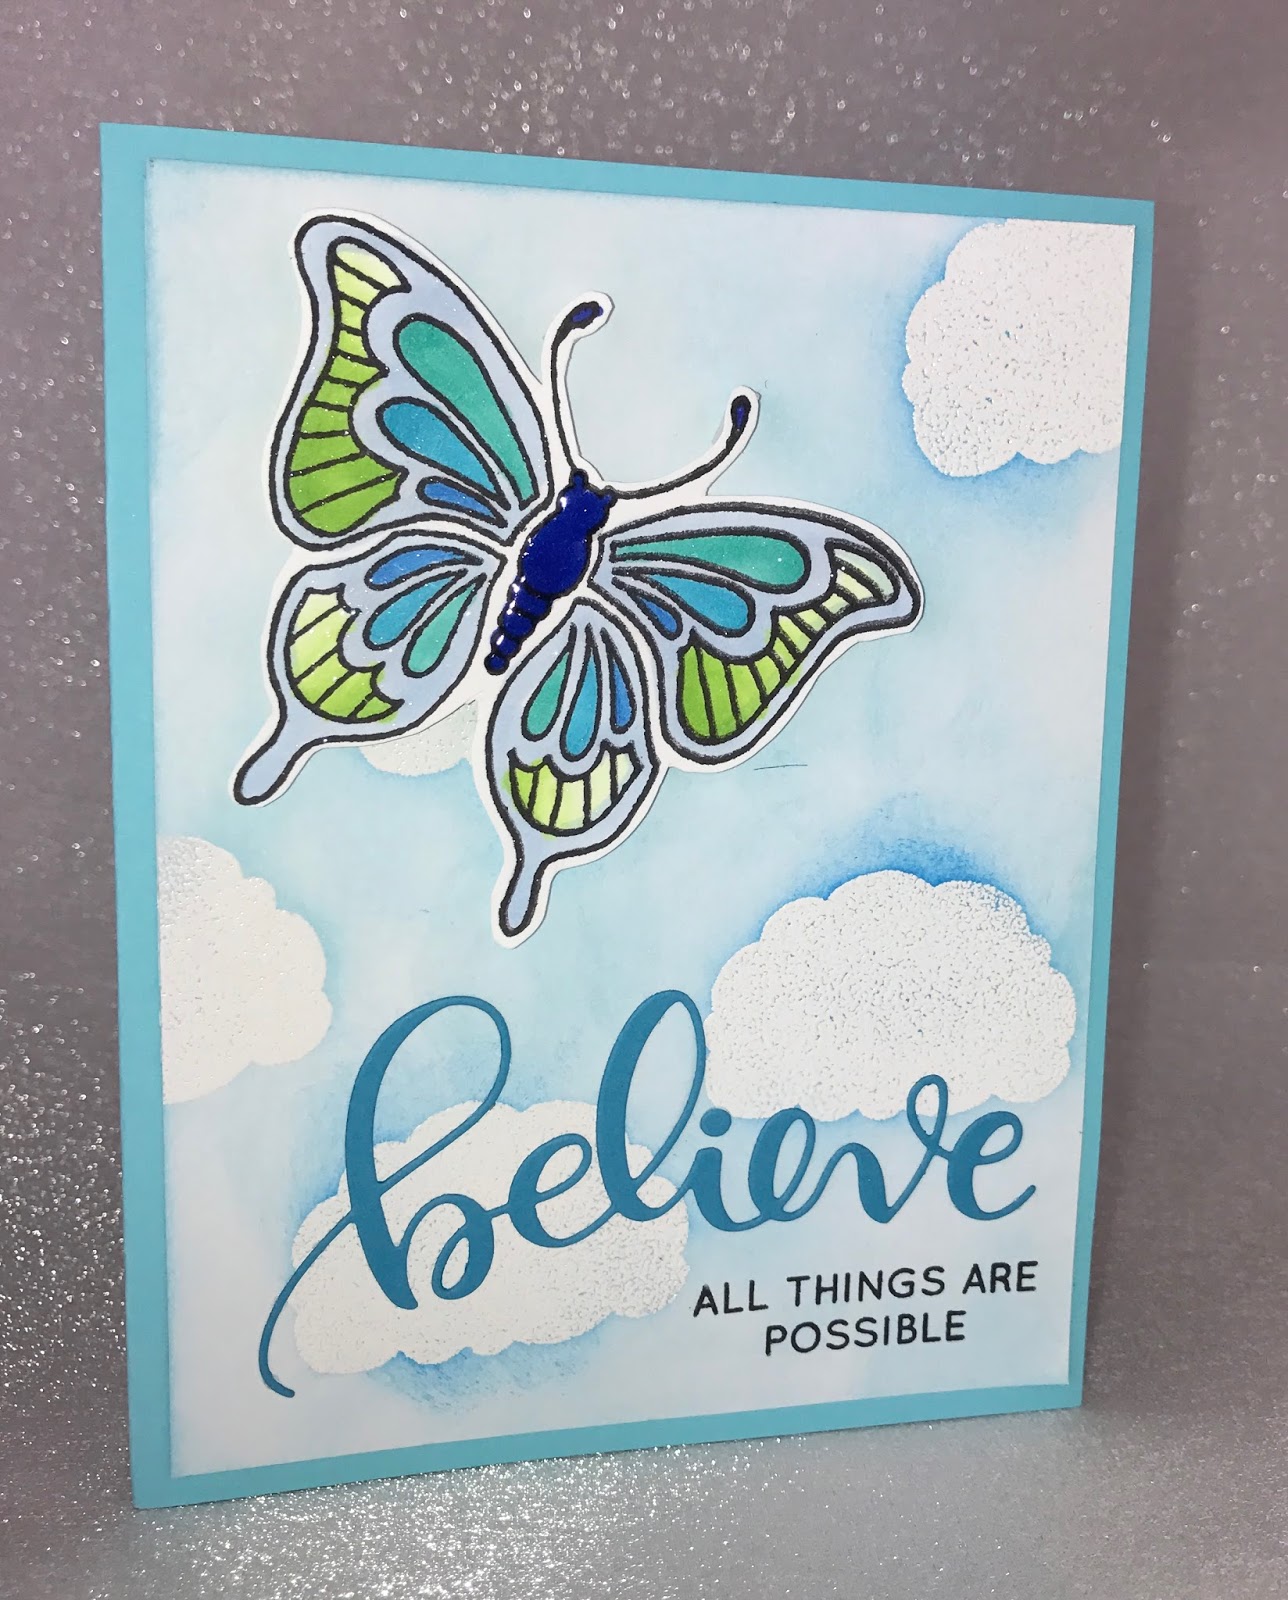
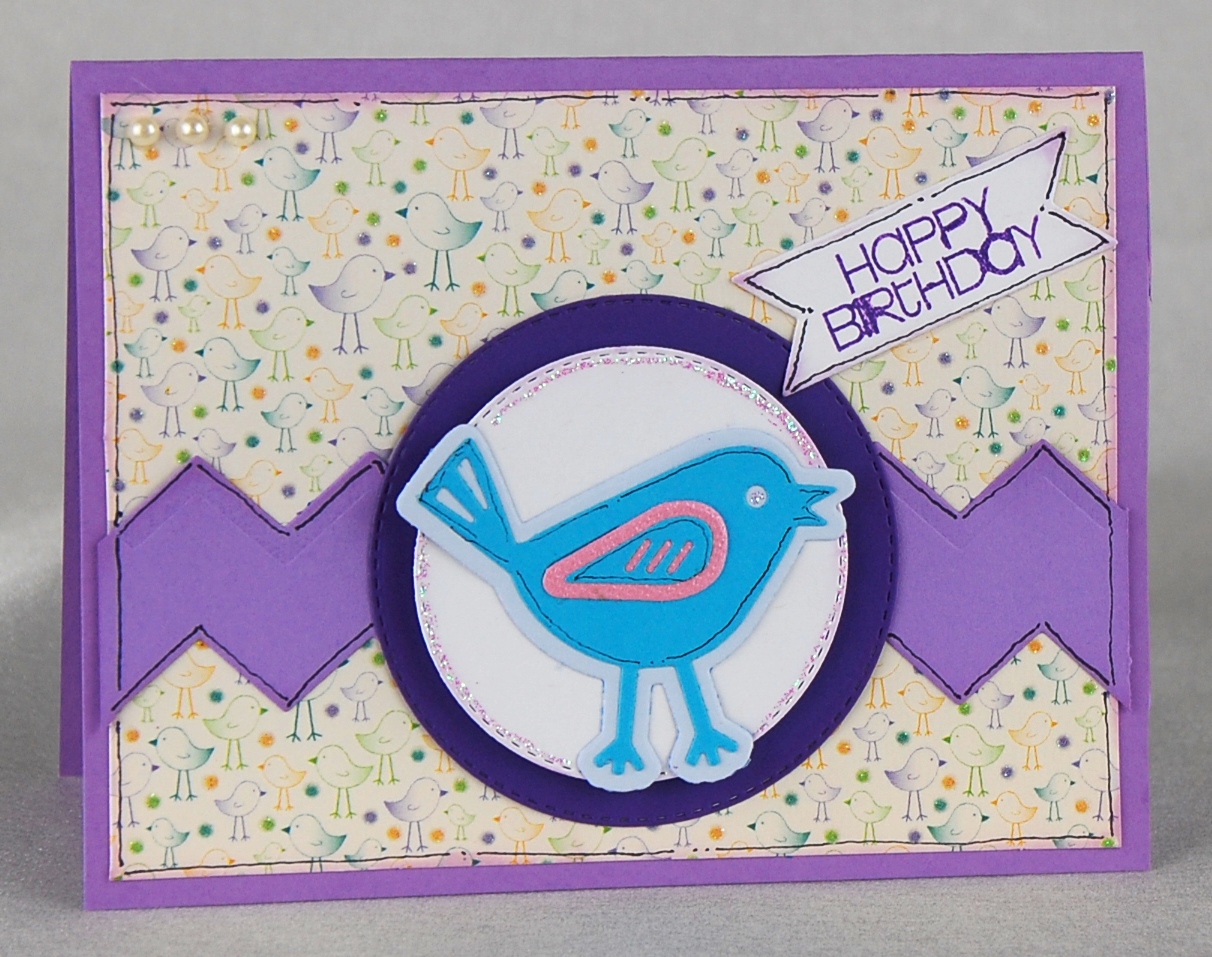
I started by stamping with memento ink on 80 lb Neenah card stock, knowing that I would be using my Silhouette to cut these images out. Of course, I used the MISTI so for repeated stamping, then it was time to color with Copics. This is usually my standard practice, stamp a lot, spend time coloring and then cut them all out - so when I'm ready to make a card, it goes pretty quick. So to pull my card together, the embossed background was trimmed, fun foam attached behind, then I positioned my cake on the pedestal, added the other elements and glued them down. The sentiment is stamped, sprinkled with embossing powder, heat embossed and die cut with coordinating die. All of this is attached to some new card stock from Hero Arts that has been inked and glued to my card base.
Have a great day and keep on crafting!
Affiliate links used at no cost to you. Not all links are affiliate, I just want to share what I used. All products were purchase by my unless noted. I don’t sell anything nor am I employed. This is my hobby and I hope to inspire you to play :)
Showing posts with label Sizzix. Show all posts
Monday, March 18, 2019
Monday, February 26, 2018
Cup of Cozy - Four Ways
Todays cards challenged me a bit. I stepped outside my comfort zone to try something new. We all fall into that "do what I do best" or "I've got a formula that I like". This stamp set from Concord & 9th was a gift with purchase.
First I stamped the mug from Cup of Cozy with versafine ink on to Bristol Smooth cardstock. Some time ago, I bit the bullet and bought the whole 96 set of Tombow Markers-time to color! I watered those down by using a palette and water brush.
This one has a background stamped with the coffee beans in AI's Hot Java Momma in Vintage Photo Distress Oxide ink. Then I used Stitched Rectangles from Stamps of Life for the dark brown and stamped the sentiment with Versa Mark ink and covered with Ranger Seafoam White embossing powder and heated. Then I stamped the steam with Memento Tuxedo Black ink and swiped Spectrum Noir Sparkle Pen for shine. Finally I wrapped some crochet thread around the side and attached a button and tied a bow and added Glossy Accents to the liquid in the mug.
For this card I ran my Kraft paper through the Sizzix Big Shot in an Alterations embossing folder. This time I inked the edges with the vintage photo distress oxide ink. Stamped and heat embossed the sentiment on the cup with Ranger Gold Embossing Powder and added the tea bag.
The next two cards is when my comfort zone was challenged. I used Kuretake Gansai Tambi watercolors on Strathmore Mixed Media, for the background. I only used one color but I did add several coats after drying. The steam was stamped with Fog ink from Stamps of Life and swiped with sparkle pen. One has ribbon from Recollections Sheer Creations.
Have a great day and keep on crafting!
Wednesday, February 21, 2018
Shake Shake Shake that Shaker Box
I'm really enjoying mixing up my stamps and dies from my stash! Today's card uses products from many brands.
First comes the coloring - I stamped with donuts from Lawn Fawn Donut Worry Stamp Set using Versafine ink on to Bristol Smooth cardstock. Then I used Tombow Markers to color my donuts adding a wet brush to smooth. Since I didn't purchase the coordinating dies, I used what I had to cut them out. EK Success 1 1/4 inch Punch cuts the donut perfectly, for the inside I used my Crop-A-Dile II and set the hole punch to 3/16. Then I stamped the sprinkles with Hero Arts Passion flower Ink. Setting those aside, I started stamping on Neenah Solar White 110lb cardstock, my background with Sprinkles Turnabout from Concord & 9th. Ink colors are: Hero Arts Bubble Gum, Memento Lulu Lavender, The Stamps of Life Pixie and Ranger Sea Shell Pink all in the Tim Holtz Stamp Platform. Next I created a donut box by using my Sizzix Big Shot to die cut a "frame" by using Squares and Stitched Square dies from The Stamps of Life. One look at the "donut box" and I thought - shaker box! So I grabbed some transparencies and cut a 2 3/4 x 2 3/4 square and used Scor-Tape to adhere. For lift, I used two layers of foam tape all along the edges. I placed my donuts on a scrap piece of cardstock, glued them down and placed some sequins in my "box" and secured them with the donuts piece. Next I wrapped my donut box with bakers twine from my stash.
To pull my card together I used Recollection from Michaels Cardstock for my base. For my sentiment, I stamped with Versamark Ink and sprinkled Hero Arts Pink Prisma Embossing Powder (that came in My Monthly Hero kit) and heat embossed. Using Hearts in a Row Vertical Die Set from My Favorite Things I die cut the sentiments and adhered them down. Used Scor-Tape to really hold my Donut Box down and my Stardust Gelly Roll Pen to embellish the edges.
Have a great day and keep on crafting!
#heroarts #thestampsoflife #memento #cardmaking #mftstamps #concord&9 #sizzix
Thursday, February 1, 2018
You & Me Card with My Monthly Hero Kit
I've been receiving the My Monthly Hero Kit for nearly a year now and absolutely recommend joining! Hero Arts offers it and you receive product nearly doubling the fee. It also sells out Fast!
Todays card uses the January 2018 kit and I had some fun playing!
Isn't that & really cool? It came in the kit. The Festive Bauble Bold Print background stamp and Mulled Wine Ink is also from Hero Arts. Shimmer is added with Sheer Shimmer Spritz all over the background. Letters u and me are Altenew's Bold Alphabet Die Set and inked with Hero Arts Bubble Gum ink.
Labels:
Altenew,
Love,
My Monthly Hero Kit,
Sizzix
Monday, May 15, 2017
Mothers Day Card (A Day Late)
Yes, this is the day after Mothers Day! My Mom sees this blog so I couldn't post earlier. I always make my Mom a card and don't repeat it for anyone else, kind of like her, she's one of a kind!
Jennifer McGuire Ink has oodles of tutorials and I love watching them and use the stuff I already have. Don't get me wrong, I do find myself adding to my wishlist some of the items she uses! This card uses a few of her techniques - I encourage you to follow her on her blog, youtube, Pinterest and Instagram. Those are the only social media feeds I use, so I'm not sure about others.
On to the card.... I used a stamp set from Hampton Art, it's flowers but doesn't have a name, just a number SC078. Stamped and embossed the images and used distress ink to color with blender. I used Abandoned Coral and Wild Honey, then sprayed with water, lots of water and added a final spritz of shimmer and shine spray. After it thoroughly dried I hand cut all the pieces and added pop dots to the pieces I chose to use. For my "Non shaking" Shaker box, I used Hero Arts Infinity Dies in hearts to cut windows. Instead of placing foam tape between the layers of acetate, I just smooshed them on top of each other - aka "non shaking". The sequins still move, just not a lot. The sequins are from Neat and Tangled, a free goodie that arrived with my order. The sentiment is from Justrite Stamps, All in The Family, Large Sentiments. Stamped with Versafine black and embossed with Zing clear embossing powder. Inside the card, to cover the flowers and adhesive I glued more flowers, turned face down, so the inside flap is all white. Tucked inside the card....a JoAnn's Gift card...she's a quilter :)
Hope you all had a wonderful Mothers Day!
Wednesday, May 10, 2017
Three Cards, Same Stamps
I purchased several new stamps and dies from Neat and Tangled and here are three cards made with the Succulent Journaling Card stamp and matching die set. Love how the sentiment has the perfect spot on the image!
The first two are similar, just different sentiments. Stamped with Versafine ink and colored with Tombow Markers. One of the sentiments is embossed with Zing clear embossing powder after using Versafine to stamp. I also used a Wink of Stella clear pen to color the green, picked up some green tombow ink, that I scribbled on a clear block and pushed it around on Bristol Smooth card stock. I assembled these with The Stamps of Life Stitched Rectangles as background, inked with Palette Raw Sienna around the edge. I used just the outside portion of the Succulent Journaling Die to cover the edges.
The final card has a different technique on the background. I purchased the Tim Holtz Distress Oxide Inks at the April CK Convention. One of the vendors had a stash that he saved for convention attendees! All of my online sources were backordered so I was thrilled to get all 12 of them. Had fun using a blending tool to add the ink to Mixed Media Card Stock, then sprayed water to get the mottled look. I used cracked pistachio, faded jeans and wilted violet.
This time I used the entire die to cover the stamped image lines and raised the whole image with pop dots.
I had fun mixing up the colors and will be making several card with these stamps and dies.
Have a great day!
Thursday, April 20, 2017
Mixing Old & New!
About a million years ago, you know, when I first started paper crafting, I bought my first Stampin Up Stamp Set. It was a Birthday set that had all the pieces of a cupcake. Thought I would be using it often, yeah, not so much... Then there's the butterfly stamp I bought at a stamp store in Branson, MO at least 12 years ago from Holly Berry House.
I finally bought the necessary paper to color with Copic markers, and stamped a bunch of images to practice with. It also helped having just acquired a Stamp and Storage container to hold my Copies. Just the push I needed to color! Loved this little butterfly and needed a background. I pulled out the "frosting" stamp from the Stamping Up Birthday Set and used Versamark and Zing White Embossing Powder to make resist clouds on white yardstick. Then used two colors of blue ink to color the sky.
Hello 2017 and I'm looking for uses for the Simon Says Stamps Believe Dies and Stamps. The cloudy sky made a pretty background for the popped up butterfly and Believe sentiment. A bit of sparkle and shine (Crystal Stickles and Glossy Accents). Note to self: get the air bubbles out of stickles before it drys.
Here's two of the cards I made, one with stickles and one with glossy accents. Enjoy!
Have a great day and keep crafting!
Friday, March 31, 2017
I love using up supplies!
It's fun using up supplies with new products added to my stash! I recently found some Art Impression Stamps on clearance at Hobby Lobby. Of course I snatched them up. This card has an image from the Birthday Wishes set that I colored with Tombow markers on Bristol Smooth paper. Paper does make all the difference when coloring with different mediums.
So one of the other new items I purchased was Hero Arts Stamp and Cut sets. JoAnns had all their stamps 50% off a few weeks ago and bought, Happy, Congrats and Thanks. Obviously the Happy set was used. The birthday sentiment was heat embossed with Zing White powder on a matching strip.
From my stash, I used Stitched Rectangles from The Stamps of Life to die cut the colored image and backing. The background papers are from Nana's Nursery, Baby Boy card stack and inked with Raw Sienna Palette Ink. I buy most of my card stock from Michaels Recollections with a coupon!
Hope you have a wonderful day and keep on crafting!
Thursday, January 12, 2017
Saving Big when you own BOTH a Big Shot and Silhouette
So yes, I love all things paper! Especially those lovely machines! My craft area has a place for two Sizzix machines (remember that red one that you had to press down instead of crank), two Cricut Machines (the small and the large) and finally a Silhouette Cameo.
There are loads and loads of techniques out there to get the best bang for your buck. There are lots of people I follow and one of my favorite is Jennifer McGuire Ink. She makes wonderful videos that showcases new products as well as techniques for products you may already own.
It was this Jennifer McGuire Ink video that I fell in love with a layering die from Birch Press called Dazzle. It's actually a set of three A2 plates that have a hefty price of $69. So, I asked Santa and all his elves for Gift Cards to Simon Says Stamps for Christmas. Yes, I was prepared to pay that.
I was playing with my Silhouette software, looked at the online store for images and be still my heart...there was a VERY close design by Lori Whitlock called A2 Stacking Card Base Burst for $.99 - That's a $68.00 savings!!!!!!! Now don't you worry about those Simon Says Stamps gift cards...I have a huge wish list there, so it won't go to waste.
If you are toying with the idea of Silhouette, you can visit www.silhouetteamerican.com or for crazy good tutorials and projects - Silhouette School Blog.
Here's the card I made for my parents 59th wedding anniversary using that Silhouette Design, Tim Holtz dies and The Stamps of Life die.
You have a wonderful day!
Labels:
Big Shot,
Cameo,
Card Making,
Happy Anniversary,
Silhouette,
Sizzix,
The Stamps of Life,
Tim Holtz
Tuesday, November 1, 2016
Hero Arts Kit Card
So I recently found out Hero Arts offers a Monthly Card Kit and was tickled as can be! Was really bummed out when I missed the September Card kit because it was really nice. I jumped on board with the October Card kit and here's the card I made.
It is my very first shaker card and I'll admit to watching a few youtube videos to find out the tips and techniques. I'm thinking a few more videos might help! When I make this card again, I'll put the snowdrift more forward and put foam tape to keep the sprinkles from falling down into the bottom. I have loads and loads of the goodies left to make more!
Have a great day and keep on crafting.
Labels:
Bakers Twine,
Christmas,
Die Cutting,
Heat Embossing,
Hero Arts,
Monthly Card Kit,
Sizzix,
Snow Globe,
Sprinkles,
Stamping
Sunday, September 4, 2016
Plaid Background Technique, my first try
One of the cool things about Stamp shows or Scrapbooking shows is watching all the vendors reveal their techniques. Of course watching these are mesmerizing and some how, some way, money that I wasn't planning on spending willingly springs out of my wallet! That ever happen to you? Now I'm not lacking for supplies, although, she who dies with the most, wins - I bought a lot from the Stampland booth. Darlene and William are two wonderful people who are in the process of moving and not traveling with these shows any longer. They are, however, updating their blog with videos and shopping and links and everything stamp related. Their site is supposed to be up sometime in October. My best buddy Becky and I watched Darlene work her magic. Here is my try:
I used a stamp and die from The Stamps of Life, bicycle2stamp. First time I made a mask from this wonderful product, Art Masking Tape and once I used it, it went in the stamp packaging for the next time I need it. Several colors of blue were brushed to get this effect. Doodling, clear bling that I colored with copics and a touch of ribbon finish this one.
Have a great day and keep on crafting.
Wednesday, August 31, 2016
Congrats Cards
Here I am again using The Stamps of Life products. Seems that's all I'm reaching for these days. Anyways...I made two cards and embellished basically the same except... one I used ink to "chalk" inside the die to highlight the sentiment, and the other I used a micron pen and doodled inside the sentiment. You be the judge, which one do you like better?
The papers were all scraps, mostly Recollection Cardstock from Michaels, scraps of ribbon and the Congrats Die from The Stamps of Life.
Hope you have a great day and keep on crafting!
The papers were all scraps, mostly Recollection Cardstock from Michaels, scraps of ribbon and the Congrats Die from The Stamps of Life.
Hope you have a great day and keep on crafting!
Labels:
Buttons,
Card Making,
Congrats Die,
Die Cuts,
Michaels,
Micron,
Recollections,
Ribbon,
Sizzix,
The Stamps of Life
Monday, August 15, 2016
You're the Apple of my eye
I'm a member of The Stamps of Life Die Hard Club which means every month I receive The Stamp and Die of the Month set before the public can buy it. I really love this month's set apple2stamp. Most months there are coordinating stamps to add patterns and additional sentiments. Big Plus if you join one of the three available clubs you get an additional 15% off other products! AND if that's not enough to make you want to join, one the first of the month they release a new item and have a FLASH Sale for 40% off for 24 hours only - plus club members get the 15% off that also!
Ok, enough about club stuff, todays card came together super fast using apple2stamp, dies and scraps! It seems that most cards I make these days have stitched rectangles on them. Kraft paper is the base and the rectangle is inked with Amaretto Powder Puff from Quick Quotes. The white sentiment is not going anywhere because I used Sizzix Adhesive Sheets before die cutting. A bit of The Ribbon Boutique sheer black dotted ribbon from Michaels and we're done.
Have a great day and keep crafting!
Saturday, August 6, 2016
You're so Sweet
I just love those tiny hearts and the tiny sentiment of this card! The stamped images are from The Stamps of Life hearts2love. All of the dies are from The Stamps of Life also, Birdcage Club Die Set, that teeny pink flower is from Sizzix Flowers and Fence Dies and Stamps and finally Stitched Rectangles. A bit of ribbon and a black rivet finish this card.
Have a great day and keep on crafting!
Saturday, July 23, 2016
Birdie Birthday Card
Expanding on my stamp and die collection...You know when you find an image or die that you fall in love with? This post is about using the other stamps/dies that came with it. There is that satisfaction of finishing your project that came into your mind, when you chose to make that purchase. That's a great feeling! But thinking outside of the box for those other dies/stamps, that's a pretty good feeling also! So this one uses a zig zag die that came with Sizzix Birds & Trees dies and stamps. Also used Triplits Spring Birds from The Stamps of Life. Was excited to find this pattern paper in a paper stack called Nana's Nursery Baby Boy that I bought some time ago at Hobby Lobby. The sentiment is from the birds and trees in the link above using Palette French Lilac. Crystal Stickles adds a bit of bling. Of course I added some doodles and pearls that I had on hand. Cardstock is from Michaels Recollections Collection.
Have a great day and show some love to your unused stamps and dies!
Thursday, July 21, 2016
Congrats/Flower Card
I wanted to make a simple card using lots of stamping and this is what I ended up with. My base for this card is one I seem to be using quite a bit these days - Sizzix Circle Flip-its in red cardstock. Most of my card making cardstock is purchased at Michaels in one of their Recollections packs.
The two different sized flowers from The Stamps of Life thanks2you set along with the sentiment on the back of the circle were all stamped in Tim Holtz Festive Berries. The Congrats Circle Die really stands out of this card. This particular die doesn't come with an outer circle so I just cut a slightly smaller 3" circle before cutting with my Sizzix Big Shot. A bit of sheer ribbon and a black rivet completes the card. Oh and don't forget the doodling.
Have a great day and keep on crafting!
Monday, July 18, 2016
Box Birthday Card for my Bestie!
So for the first time, I believe, I had my best friends birthday card made up ahead of time! Go me! Did lots of stamping on this one. and tried out a new die as well. I bought the Tim Holtz Celebration Words Thinlits Dies for both her and myself. I had been on the lookout for these babies for a while but couldn't find them in the store. Let's face it, purchasing items with a coupon is best, second best online. Scrapbook.com had them.
The base of this card was made using The Stamps of Life Box Card Die and all the flowers were made with flowerpower2fill stamp set and Flower Power Dies. It really go together fast with the stamps and matching dies. My ink choices are from The Stamps of Life: Guava, Tangerine, Sea Glass and Palette: French Lilac, Raw Sienna and Cote D'Azure. I really like a bold sentiment and the happy birthday was a tiny bit bigger than the card base, so I cut 2 of them, one with Sizzix Adhesive Sheet on the back. When I placed it on the base I used the extra sentiment to cover the sticky on the back. The tiny ladybug came from Gift Card Flip-its Set from The Stamps of Life.
I also find that when using this box card die, you really need to use a strong adhesive.
Have a great day and keep on crafting!!
Thursday, July 7, 2016
Baby Boy Shower Card
So this card is for a baby shower that I'm going to. My best friends youngest daughter is having her first baby! I'm sooooo excited!!!
The card base starts with Sizzix Cute As A Bug Step Up Framelits. Then for the onesie I used Sizzix Oh Baby Triplits and popped up the teeny baby duck. The metal embellies are from Making Memories charmed baby. Patterned paper is Deja Views Sharon Ann little ones collection. Recollection card stock and Celebrate It 360 ribbon, both from Michaels finish this card off.
Have a great day!
Sunday, June 19, 2016
Daddy's Day
I'm sure everyone out there is making Father's Day Cards for those special guys in our lives. For those of you have Daddies in Heaven, my deepest sympathy!
Here's my Daddy's card.
I love using my sizzix to make cards, especially those pop up ones. This time I used Sizzix 657802 Card, Horizontal A2 w/Circle Label 3-D (pop-up) for the base. Two colors of blue cardstock along with Recollections Turquoise Tiles PP help this one come together. The Stamps of Life Stitched Rectangles and Stitched Circles are used both inside and out. I also used Memory Box Mustache die. For the DAD I used my Silhouette and chose the font Niagra Engraved. For the inside sentiment JustRite All in the Family Large Sentiments using The Angel Company All American Blue ink. A bit of ribbon and bling from Want2Scrap helps complete this card.
Here's my Daddy's card.
Friday, April 22, 2016
Using My New Stamps of Life Stamps and Dies
Still using my newly purchased stamps and dies from CKC and having a blast!
This card uses several sets, including bicycle2stamp, bicycle club die set, Sizzix Thinking of You 3D Drop Ins, Sizzix 3D Drop In Scallop, Stitched Rectangles and finally Mini Flower Dies. Now, I already owned the 3D Scallop and Thinking of You Drop Ins. Really love the Mini Flower Dies because there are just soooooo many and I do love using up scraps with tiny dies to have ready to go!
Here's the card,
You can't tell from the picture, but the white and lavender layers are raised with pop dots, including the sentiment. The twine I used is pretty thick and this was the best way to keep it contained on the card. Inside the card had a row of those Mini Flower Dies with a bit of Stickles in the center. The bicycle has Glossy Accents on the frame and finally the flowers stamped on lavender was using Pixie Ink from The Stamps of Life.
Subscribe to:
Comments (Atom)


