Wednesday, December 18, 2019

Two Christmas Cards This Year

I traditionally make 60+ Christmas Cards each year and it is a labor of love.  I have one dear friend who has kept the past 9 years worth and displays them as decorations.  When I saw the picture of them all, my heart melted!


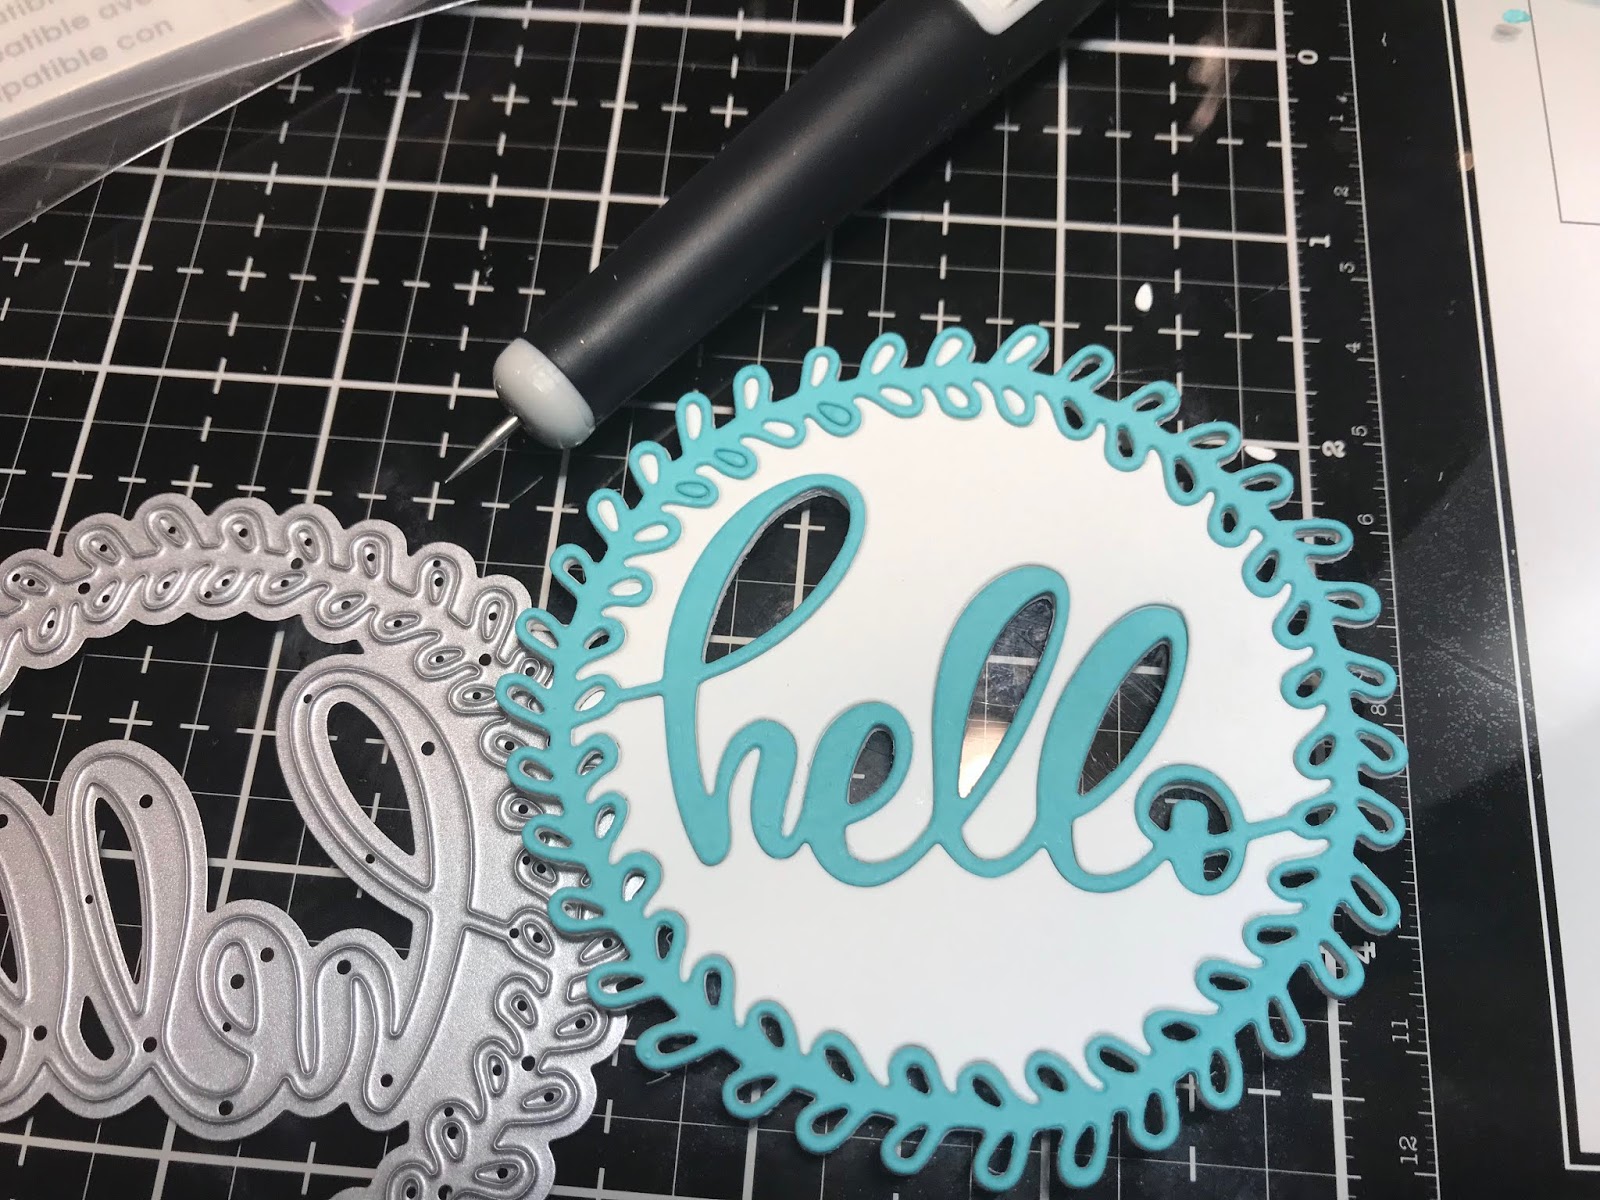
My first card is made with Honey Bee Stamps Winter Bouquets Honey Cuts and a sentiment from a My Monthly Hero Kit.  Those beautiful poinsettias caught my eye and I was hooked.  I had my Gemini Jr working overtime to cut all those layers.  Next came inking with 3 colors of distress ink.  A stardust pen accents the pinecones and then the gluing began using Connect adhesive (it really holds together and dries fast).  Using a My Monthly Hero sentiment I stamped using my Mini Misti with Versamark and Heat Embossed with Ranger Gold Embossing Powder.  The background paper is The Paper Studio from Hobby Lobby.  Finally all elements were attached to a white card base.


Now for the second card...I was at Hobby Lobby buying background paper and found the Merry Christmas Wreath from Momenta.  Loved this delicate die and decided right then and there to add a second card.  So my Gemini Jr chugged right along cutting more die cuts.  So I said, I loved it...also hated it!  It's so pretty but is really a booger working with and glueing together.  Before I glued I sprayed Shimmer Spritz on the white layer, I know you can't see it in the photo but trust me it's there.  Inking the background paper always adds a little extra so I did that too with Distress Ink.  Finally all elements were attached to my red card base.


I chose no rhyme or reason when sending these out as to who got what card - I liked them both that much!

Affiliate links used at no cost to you.  Not all links are affiliate, I just want to share what I used.  All products were purchase by my unless noted.  I don’t sell anything nor am I employed.  This is my hobby and I hope to inspire you to play :)


Tuesday, September 24, 2019

Eek A Boo Halloween Card

I recently joined the Spellbinders Small Die of the Month kit club and was really excited to get this months kit.  I thought my little Halloween guys would look good on the Box Card Kit.  


Guys, these dies are tiny!  Grab your jewel picker when assembling to make it easier.  Once all the die cutting was completed, time to glue these together.  

For the Box Die I used the Big Shot with the magnetic extended platform and cut purple paper for my base.  Black glitter paper really stands out on the purple.  The orange squares are stamped with this months My Monthly Hero Kit.  A Stardust pen adds sparkle and the sticker is from my stash.

Have a great day and keep on crafting!

Affiliate links used at no cost to you.  Not all links are affiliate, I just want to share what I used.  All products were purchase by my unless noted.  I don’t sell anything nor am I employed.  This is my hobby and I hope to inspire you to play :)


Saturday, September 21, 2019

MFT Superstar Contest Entries

Do you ever get overwhelmed when submitting items for contests, etc?  I usually don't but for some reason, this year I did.  I make it a point to not look at the already submitted items until my cards are completed.  But these year I saw on social media people posting their submissions and boy were they amazing!  Kind of took the wind out of my sail.  Then I remembered, art is subjective and I like my art and trying to compare it is not a wise thing.  But then I pulled up my big girl panties and soldiered on.  

Clean & Simple Genius
Starting with Puddle Jumper, I stamped with Momenta ink, colored my image with copic markers and fussy cut him out.  Using Radiating Rays and Grassy Edges Stencils I added the sun and grass.  There are puddles in grass, right?  The sentiment is stamped with Charcoal Ink and heat embossed with clear embossing powder.

Coloring Virtuoso


I bought the Holiday Cheer stamp a while ago and finally decided how I wanted to show my shopper - walking home in the snow carrying all her packages.  I imagined a peaceful enjoyable walk instead of the rush and noise of the mall.  I started by stamping with Momenta Ink and masking my image.  Then using the Cloud stencil, light blue ink gave a soft look.  Using Copic markers I added a tall tree on one side and finally a sidewalk for her to walk on.  Then using various Copics I brought my colorful girl to life.  Prismacolor pencils added more shading and a Sparkle Pen added highlights to her coat.  Using Blueprint Sketch 24 I die cut my image  The snow was created using a Snow Marker and a heat tool.  Finally, the sentiment was stamped on a strip with Soft Granite Ink, outlined with a Stardust Pen and attached to the card.  The whole thing was raised with fun foam onto my card base.

Inovation Master

For this one, I had a vision....and something in the universe did not want it to happen!  I think I redid this card at least three times and that didn't include ripping things apart to try again.  I persevered and finally had my entry.

Starting with Mixed Media paper and applied Wilted Violet, Blueprint Sketch and Picked Raspberry Distress Inks direct to paper and sprayed the whole thing down with water.  My heat tool helped it dry and then put Black Soot down on glass and mixed with water and brushed it over the whole paper - again using the heat tool to speed drying.  White acrylic paint watered down was then splattered over for the look of stars.  Using Blueprint Sketch 24 Die, I die cut my background.  Then placing the Shining Stars Die-namics I die cut the word, saving the inside bits.  Using a separate piece of card stock I placed behind the diecut then glued the bits in place.  Next I backed the top piece with acetate and on the reverse side I arranged two layers of foam tape around the word and edges.  Sparkling crystals were added to make a shaker card and carefully adhered the backing piece.  The sentiment from Written in the Stars was stamped with Versamark ink and heat embossed with silver embossing powder.  This was cut into a strip and glued to the card.  The card is backed with grey cardstock and mounted on to the card base.

So there you have it, my entries!

Affiliate links used at no cost to you.  Not all links are affiliate, I just want to share what I used.  All products were purchase by my unless noted.  I don’t sell anything nor am I employed.  This is my hobby and I hope to inspire you to play :)

Wednesday, September 18, 2019

Same Card, Two Colors, One is "black, like my soul"

Now I know that title sounds a bit weird.  Backstory is that I was making a card for someone specific.  I chose two colors of pink and gray.  Turned out really cute but then I remembered something she said recently.  She saw the new Starbucks reusable cup - it was textured and black - she "needed it because it was black, like my soul".  So I remade the same card with gray, black and black glitter and it looked pretty cool too.  I don't know if I'll give her just the black one or both.  Here they are:
Altenew Floral Cover Die


Altenew Floral Cover Die

Both cards are made the same way, using my Gemini Jr to die cut the Floral Cover A & B dies.  These dies make cards come together really quickly.  Just glue the die cuts together and then to a card base.  

The pink card has a sentiment from Sketched Flowers and was stamped with Soft Granite Ink and then again with Versamark Ink in my Mini Misti.  Clear Embossing powder was heat set with my Heat Tool.  This was die cut with Majestic Labels and backed with fun foam before adhering to the card.   Cupids Kiss gems were added to finish the card.

The black card has black glitter card stock behind the die cuts.

Have a great day and keep on crating!

Affiliate links used at no cost to you.  Not all links are affiliate, I just want to share what I used.  All products were purchase by my unless noted.  I don’t sell anything nor am I employed.  This is my hobby and I hope to inspire you to play :)

Monday, September 9, 2019

Mr & Mrs Shower Card

We have a wedding coming up!  My daughter Katie is marrying the love of her life and I wanted to make a special card for her bridal shower.  Here it is:

I started with the Mr & Mrs Die from Momenta.  I bought this on clearance at Hobby Lobby and unfortunately is not available at the sites I shop at.  Using my Gemini Jr I die cut three times with white card stock and one with a smooth glitter card stock.  The glitter card stock came with a My Monthly Hero Kit (www.heroarts.com).  I stacked and glued the die cuts adding the glitter on top.

Then, using a gray wood grain specialty paper (also from My Monthly Hero Kit) I die cut my background using Stitched Rectangles.  This was attached to fun foam (for dimension) and glued to my card base.  Mr & Mrs was then adhered and Crystal Gems were added.

I was really pleased with the how the card turned out.  Excuse the wet glue under the gems.

The shower was perfect!  It was at a restaurant and was beautifully decorated by a cousin!  Here is a picture of my three daughters and youngest grandson.
Have a great day and keep on crafting!

Affiliate links used at no cost to you.  Not all links are affiliate, I just want to share what I used.  All products were purchase by my unless noted.  I don’t sell anything nor am I employed.  This is my hobby and I hope to inspire you to play :)

Wednesday, June 5, 2019

Beautiful Bouquet of Flowers Card

Ok, so that title sounds like I'm bragging on my card...nope, I just love the Floral Mix Background Stamp.  I love flowers and more so, I love to color flower images!  If only the images could include that heavenly aroma....  

Today's card started with nocture ink on Neenah classic crest solar white card stock using Floral Mix Background Stamp.  Next is coloring with copic markers.  I wanted to keep the colors soft.  
Copic

Stitched rectangles and my Gemini Jr trims the piece.  Fun foam is attached to the back for dimension and is attached to the card base.  Three celebrate die cuts in black are stacked and attached.  Finally a shimmer pen is brushed over the flower centers.
Flowers
flowers
Have a great day and keep on crafting!


Affiliate links used at no cost to you.  Not all links are affiliate, I just want to share what I used.  All products were purchase by my unless noted.  I don’t sell anything nor am I employed.  This is my hobby and I hope to inspire you to play :)

Tuesday, May 21, 2019

Dad Nap Card

How many of you have a man in your house who falls asleep while watching tv?  Does this card look familiar...I know it is in my house.  That's why I bought this stamp set - it made me giggle when I saw it.  I'm all about the happy moments!

This card with the Lazy Boy stamp, stamped with onyx ink on watercolor paper.  Altenew watercolor paints were used to color and after it was dry, glossy accents were added to the chip bag and remote.  Stitched rectangles with the gemini jr die cut the image and a pen knife cut the black matting piece, this was backed with fun foam for dimension.  Shoppe on the Square by Paper Studio is the patterned paper I used.  Some gems, inking and pen work finishes this card.
http://beverly2hearts.blogspot.com

This card was made the same way, only the pattern paper is Garment District by Paper Studio.


Have a great day and keep on crafting.

Affiliate links used at no cost to you.  Not all links are affiliate, I just want to share what I used.  All products were purchase by my unless noted.  I don’t sell anything nor am I employed.  This is my hobby and I hope to inspire you to play :)

Wednesday, May 15, 2019

Crafty Cards - May My Monthly Hero Kit

Have I told you how much I love Hero Arts?  Especially their My Monthly Hero Kit?  This month is my absolute favorite, all crafty goodness images and dies along with other goodies!  Plus there were soooo many add ons for this kit...my wish list certainly got longer - if only my budget were bigger!  Oh the trials of crafters and their money woes....lol.

At the recent Creative Keepsakes Convention I purchased some Pearl Alcohol Inks and played with them.  I grabbed the large fancy die and backed it with a small piece.  Next, some shiny silver card stock to die cut knitting needles in my Gemini Jr.   Finally, a VersaMark stamped sentiment from the kit - heat embossed with silver embossing powder.  Fun Foam backs the panel and a glitter pen adds details.
May My Monthly Hero Arts Kit

The next card is all about those markers.  Using my Misti, I stamped the marker repeatedly in a row using Tuxedo Black ink.  The sentiment is stamped with VersaFine Ink and heat embossed with clear embossing powder.  Using Copic markers, I colored them in rainbow order.  Stitched Rectangle die trims the piece and it's backed with red card stock and then mounted on my black card base.  A white piece is placed inside to sign.

I had a blast whipping out these two cards and can't wait to get back to the kit to play some more!

Have a great day and keep on crafting!

Affiliate links used at no cost to you.  Not all links are affiliate, I just want to share what I used.  All products were purchase by my unless noted.  I don’t sell anything nor am I employed.  This is my hobby and I hope to inspire you to play :)

Saturday, May 4, 2019

Cards made with Giveaway Goodies

On Instagram I enter quite a few Giveaways.  If I like what the creator posts, I am happy to follow them and share with like minded buddies.  Much to my surprise, I won a Giveaway and it had an item that I've had on my wish list.  Actually, I've put it I'm my cart many times, only to remove it because I couldn't justify another watercolor set on my budget.  Loraleeferguson offered this fabulous giveaway and I won!  Lora makes beautiful cards, click on the link above and check her out!  Here's a picture of what I won.  Check out her homemade card!


With this great giveaway, I made four cards and had a blast playing with the Altenew Water Color Set.  It's small and oh so fun to use!  The Floral Spring Stamp and Die Bundle was used with Onyx ink on Tim Holtz Water color paper.  After the image was painted and dried, I used stitched rectangles to die cut with my Gemini Jr.  Finally, I used that same ink and sprinkled clear embossing powder and heat set the sentiment.  Fun Foam is added to the back for dimension before adhering to my top folding card base.  Some of the cards have different ribbons and sequin embellishments.
Floral Sprig

Floral Sprig

Floral Sprig

Floral Sprig

Have a great day and keep on crafting!

Affiliate links used at no cost to you.  Not all links are affiliate, I just want to share what I used.  All products were purchase by my unless noted.  I don’t sell anything nor am I employed.  This is my hobby and I hope to inspire you to play :)

Saturday, March 30, 2019

I Run on Coffee and Chaos Card

Hello there, today's card is for all the Boy Moms out there.  A super cute stamp set from The Ink Road Stamps called Boy Mom is new for me and just loved creating this card.  I've said this before, that I like to create when the mood strikes and this time I used a background from one of those occasions.  It's made with direct to paper distress inking, a little blending and finally spritzing the back of a stencil with water, and applying it to my inked paper.  A paper towel soaks up extra water and once it's dry you get a cool background!  I've had the stencil for a long time and I'm sorry I don't have the name for you :(
Boy Mom

Boy Mom
I simply placed my images in my MISTI, stamped with onyx ink, sprinkled with clear embossing powder and heat set.  I went on to mat black card stock before adhering to my card base.  Pretty fast card and when you already have a background done - pretty easy also!

Have a great day and keep on crafting!

Affiliate links used at no cost to you.  Not all links are affiliate, I just want to share what I used.  All products were purchase by my unless noted.  I don’t sell anything nor am I employed.  This is my hobby and I hope to inspire you to play :)


Monday, March 25, 2019

Pretty Fly for a Little Guy Card

Hello there, today's card is all about my newest Grandson, Benjamin!  He'll be 3 weeks old tomorrow and we are all totally smitten.  No pictures of Ben, my daughter is taking the safe route and keeping photos off social media (smart move).  Ben was the reason I bought Spork, a stamp set that has awesome sayings.  If you like to quote shows or movies, The Ink Road Stamps are for you.  My cart had several items before I checked out!

Here's the card:


I started with the baby image and stamped all over with soft sky ink.  Then with baby blue pigment ink I stamped the sentiment, sprinkled with clear embossing powder and heat set.  Next, I got out my stitched rectangle and stitched squares dies with my gemini jr.  Fun foam was added to the baby image piece and attached to the base.  Ribbon (celebration from Michaels) was added with a button and floss on top. (A reverse tweezer held it all in place while the glue dried).  The blue card stock was from a random piece from my stash and the sentiment with backing also got some fun foam behind it.  And there you have it - pretty quick card.

Have a great day and keep on crafting!

Affiliate links used at no cost to you.  Not all links are affiliate, I just want to share what I used.  All products were purchase by my unless noted.  I don’t sell anything nor am I employed.  This is my hobby and I hope to inspire you to play :)

Thursday, March 21, 2019

I Won! Here's the Card I Made

Hello there,  I've got a picture I want to share with you.

This wonderful set of crafty goodness arrived by mail from @cards.by.becca on Instagram.  She had a giveaway to celebrate her 2000 followers.  Check out that decorated envelope and zoom in on that fabulous card she made!  Truly packed with love!  I won (clapping and jumping) and here is the card I made:

Momenta Hello Cutting Template
I had so much fun playing with these new goodies and look forward to playing with all of them.  

The background stamp is from Neat and Tangled called Mail Background and is stamped on card stock, sprinkled with white embossing powder and heat set.  Next Peacock Feathers Oxide Ink is used to blend around the edges fading to a white center.  Using my Gemini Jr, I die cut 3 white and one paradise using the hello cutting template.  They are stacked and glued together.

HINT:  Since this is a pretty delicate die, I stacked and glued before I punched all the tiny bits out.  There were so many bits and having them more stabilized made poking them out easier.

The die cut element was then glued to my background piece and a shimmer pen was used on the word only for some sparkle.

If you have chance, check out @cards.by.becca on instagram!  Thanks again Becca!

Have a great day and keep on crafting!

Affiliate links used at no cost to you.  Not all links are affiliate, I just want to share what I used.  All products were purchase by my unless noted.  I don’t sell anything nor am I employed.  This is my hobby and I hope to inspire you to play :)

Monday, March 18, 2019

Piece of Cake Birthday Card

Hello there, I'm using some new products on today's card.  I knew the moment I saw it, that I had to have the Piece of Cake stamp set from Honey Bee Stamps.  Let me tell you, the two stamps I ordered came super fast and was packed with love!  The other new element I used was an embossing folder that came with my gemini jr.  Normally, I stick with my big shot for embossing folders but the included folder worked just fine.  I do like the raised area along with the textured background.  

I started by stamping with memento ink on 80 lb Neenah card stock, knowing that I would be using my Silhouette to cut these images out.  Of course, I used the MISTI so for repeated stamping, then it was time to color with Copics.  This is usually my standard practice, stamp a lot, spend time coloring and then cut them all out - so when I'm ready to make a card, it goes pretty quick.   So to pull my card together, the embossed background was trimmed, fun foam attached behind, then I positioned my cake on the pedestal, added the other elements and glued them down.  The sentiment is stamped, sprinkled with embossing powderheat embossed and die cut with coordinating die.  All of this is attached to some new card stock from Hero Arts that has been inked and glued to my card base.
beverly2hearts.blotspot.com
Have a great day and keep on crafting!

Affiliate links used at no cost to you.  Not all links are affiliate, I just want to share what I used.  All products were purchase by my unless noted.  I don’t sell anything nor am I employed.  This is my hobby and I hope to inspire you to play :)

Friday, March 15, 2019

Happy Mail Cards

Hello there, today's cards are all about happy mail!  Who doesn't like getting mail (happy mail, not bills)?  Mail background and love mail dies are apart of all three of these cards, after all, I just got these in the MAIL!  lol

The first card was stamped, sprinkled with embossing powder and heat set.  Tumbled glass ink was blended around the edges with lighter touch in the center.  The love die was cut with black and then outline in a silver vellum.  The sentiment was stamped and heat embossed also.  Those cute little envelopes were die cut out of very heavy card stock, almost too heavy.  Bending those on the score line to fold took too much effort!  The rest of those cuties are cut with regular card stock (much easier).  Those tiny little hearts on the envelopes were colored with watercolor markers.  The background was die cut with stitched rectangles and placed on fun foam to add dimension.
Mail BackgroundMail Background
 Next card is sending you happy mail, Using both the background stamp (in cloud ink) and love mail dies were used.  The sentiment is stamped and heat embossed just like card above.  The happy die was cut and glued three times for dimension.  I colored some of the background hearts with Copic RV52. A touch of stardust pen on the envelope hearts add shimmer.  The rest of the card was assembled just like the above card.
Mail Background

Mail Background
The last card was done slightly different.  The background was stamped with cloud ink and then a few envelopes were colored with three different colors of alcohol ink.  Then, using a micron fine tip pen, I outlined them.  This one has no sentiment, that's for the inside, so this card can be used for more than one occasion.  Using the same dies, this time I also cut hearts and inked them with bubblegum ink.  The folded envelopes (cut with regular card stock - easier to fold) are raised with foam tape for dimension.  The rest of the card was assembled like the above two cards, only without fun foam.
Mail Background
Mail Background
Have a great day and keep on crafting!

Affiliate links used at no cost to you.  Not all links are affiliate, I just want to share what I used.  All products were purchase by my unless noted.  I don’t sell anything nor am I employed.  This is my hobby and I hope to inspire you to play :)

Sunday, March 10, 2019

Gamer Birthday Card

Hello there, got a card today that I made for my Grandson Dominic.  He's really into video games and happened on one of those great clearance section at Hobby Lobby and snagged this beauty on sale with him in mind.  A personalized card is going to mean a lot to him, so I pulled out my luggage tag alphabet dies.  Here's a hint - I didn't clip each letter out, I clipped each row and kept them together when I first removed them from the package (I'm talking about the little tabs that hold all the dies together).  This way there is less to lose and I'll keep the extra letters in a plastic sleeve.  I die cut his name and the game dies out of black card stock.  The screen piece has lots of white pigment ink rubbed on.  The sentiment was cut from mirror shiny card stock.  My background is done with a stencil, stencil brush and two colors of ink.  The borders of the stencil and backing piece are cut with stitched rectangles dies.  Glue brought this all together - easy peasy.
http://beverly2hearts.blogspot.com
Have a great day and keep on crafting!

Affiliate links used at no cost to you.  Not all links are affiliate, I just want to share what I used.  All products were purchase by my unless noted.  I don’t sell anything nor am I employed.  This is my hobby and I hope to inspire you to play :)

Wednesday, March 6, 2019

Hugs Card


Hello there, todays card is a fast fast fast card.  The heart background has an inner and outer die so you can cut just the hearts without a border, I wanted the border.  I also cut a white rectangle to go behind the hearts.  For the sentiment, I used my Silhouette and the Samantha Font to cut Hugs with the swirly.  I stacked and glued together 2 of these before adhering to my card.  It's on grey card stock from Michaels that has inking around the edge.  A stardust pen adds shimmer and a ribbon completes the card.

Have a great day and keep on crafting!

Affiliate links used at no cost to you.  Not all links are affiliate, I just want to share what I used.  All products were purchase by my unless noted.  I don’t sell anything nor am I employed.  This is my hobby and I hope to inspire you to play :)