Showing posts with label Gemini Jr. Show all posts

Wednesday, March 23, 2022

Celebrate Shaker Card

 I've owned this celebrate die for quite a while and I'm just getting around to make some cards.   To start I stamped an ocean wave with a similar color to my card stock.  Then die cut with stitched rectangles in my gemini jr machine.  It adds a lovely white border when attached to the card base.

Now for the shaker element, the celebrate die was cut many times and adhered with bearly arts glue.  A layer of acetate and a final die cut on top makes the shaker element ready to fill.  Using up some sequin/bead mixture from my stash, I filled it up.  A second piece of acetate keeps the stamped image visable.  Time to adhere the filled shaker to the card.  I think I spent more time separating the die cut from it's negative pieces rather than putting the card together.

Shaker Card

Shaker Card


Have a great day and keep on crafting!

Affiliate links used at no cost to you.  Not all links are affiliate, I just want to share what I used.  All products were purchase by me unless noted.  I don’t sell anything nor am I employed.  This is my hobby and I hope to inspire you to play :)


Wednesday, March 9, 2022

More Pinkfresh Studio Floral - Sympathy Cards - Choose Hope

 Just like my previous post - I'm loving the whole Pinkfresh Studio stamp, stencil and die sets!  This time it's all about Choose Hope.

Unfortunately I needed to make some sympathy cards so when I created a whole bunch of the floral sprays ready to go, I had what I needed to make some quick cards.  Again, I pulled out some cover dies, embellishments and sentiment stamps and put these together pretty easily.

http://beverly2hearts.blogspot.com

  
http://beverly2hearts.blogspot.com

http://beverly2hearts.blogspot.com

http://beverly2hearts.blogspot.com
These florals were colored with Pinkfresh inks: Sky Blue, Summer Shower, Seaside, Fresh Pear and Grassy Knoll.  Blender Brushes made the coloring super quick with layering stencils.  Pixie spray helped with those stencils! MISTI helped repeated stamp Choose Hope with Amalgam Ink and of course the Gemini Jr made fast work die cutting.  For the cover dies, I chose Horizontal Stripes, Wood Frame Infinity Die and Leaves and Vines with a white 110 lb card stock.  Scotch foam tape was used with the frame die.  All the card bases were made with Recollections 110 lb card stock.

Sentiment Strips were stamped and attached with Bearly Art Glue.  Embellishments are from Trinity Stamps.  The Tiny Words stamp is from Simon Says Stamp.  Some sparkle pen was used for shimmer.

Have a great day and keep on crafting!

Affiliate links used at no cost to you.  Not all links are affiliate, I just want to share what I used.  All products were purchase by me unless noted.  I don’t sell anything nor am I employed.  This is my hobby and I hope to inspire you to play :)


Tuesday, March 1, 2022

Pinkfresh Floral Cards - So Versatile

 I've been a big fan of Pinkfresh Studios stamp/stencil/die sets!  Recently Pinkfresh had a sale and I purchased a few sets.  Got to tell you, when you color your images with stencils and coordinating inks miracles happen FAST!  I was able to stamp, color and die cut lots of flowers and leaves very quickly.  

Friendship Blooms

Friendship Blooms

Friendship Blooms


Quick tip: using Pixie Spray on back of the stencils moves things along!  First I stamped Friendship Blooms on 110 lb paper with amalgam ink.  Do yourself a favor and stamp lots!  Next is to apply the pixie spray to the back of the stencils - there are five.  Using PinkfreshStudios Ink makes color selection a breeze - as there are four shades in each color family.  For these flowers I used Coral Reef, Passionfruit and Berrylicious, for the leaves, I used Fresh Pear and Grassy Knoll.  Blending brushes make coloring fast, fun and easy.

Once I had several sheets colored, it was time to break out my Gemini Jr and die cut those babies.  And now it's time to make cards!  I searched my cover dies and selected two:  Hexagon Cover Stipple plate and Blueprint 27 - for these I chose white 110 lb card stock and some pale 110 lb Recollections card stock from Michaels.  Used my score tool to fold them.  I attached the card fronts with Bearly Arts Glue-my new favorite wet glue.  Now time to arrange the flowers and leaves and attach.  Using my MISTI, Choose Hope Stamp Set, and Amalgam Ink I stamped the sentiments.  Once that was finished, I added some embellies from my stash.  The cards are finished but I still have more flowers and leaves in different colors to make more cards.

Have a great day and keep on crafting!

Affiliate links used at no cost to you.  Not all links are affiliate, I just want to share what I used.  All products were purchase by me unless noted.  I don’t sell anything nor am I employed.  This is my hobby and I hope to inspire you to play :)

Monday, January 31, 2022

Mini Slimline "Money Cards"

 Sorry, I've been away so long!  But I'm back now with some cards I gave at Christmas for those that chose $$$.  Even decided to leave them blank inside so they could reuse them.  The gift bag had the to/from information on it.

Slim Line Money Cards

When I saw the Paper Bag Die, I knew who would get a card with that!  I chose three colors of pink card stock from Michaels and some gold foil to use for the die cuts.  Once the "handles" were attached with glue, it was time to arrange them on a mini slimline die cut on vellum.  Glue dots were placed behind the bags to attach to hide the adhesive.  This was attached to two stacking die cuts and adhered to a mini slimline card base.

Money Card


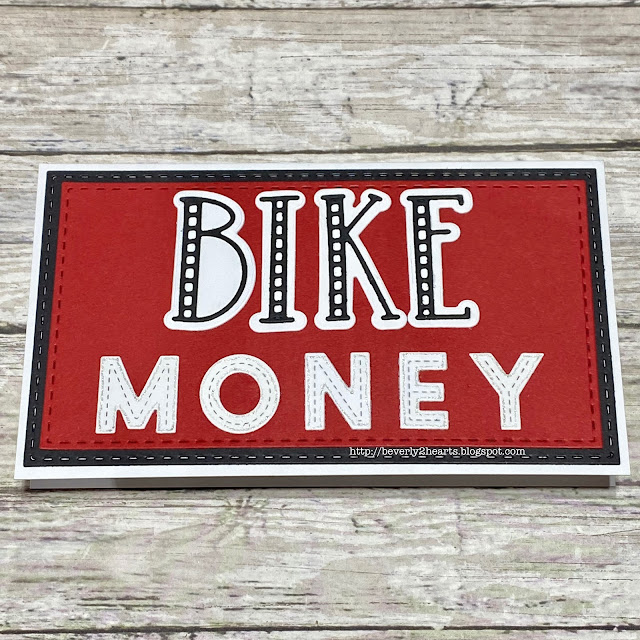
My second recipient is big into off road biking and thought the direct approach was best.  Choosing Red, White and Black the card was similarly made like the first.  Only using the Striped Alphas and the Oliver Dies.  A stardust pen adds interest to the alphas.

Have a great day and keep on crafting!

Affiliate links used at no cost to you.  Not all links are affiliate, I just want to share what I used.  All products were purchase by me unless noted.  I don’t sell anything nor am I employed.  This is my hobby and I hope to inspire you to play :)


Wednesday, August 25, 2021

Bridal Shower Invite and Road Trip Crafting

 My beautiful niece, Maura, is getting married!  My sister and I are throwing a Bridal Shower for her and below is what I came up with for an invite.  

Spellbinders Die

Spellbinders Die
My parents are in their 80's, adventurous and love to travel, even though my Dad worked for the Airlines, my Mom no longer wants to fly - so road trip it is!  My sister and I went with them so we had 3 drivers.  Our original plan was to drive to New Hampshire to see a close family friends Grandson play baseball.  That fell through when he sustained an injury.  When that happened we opted for Colorado.  It was gonna be a 2 day drive so I brought crafty supplies to assemble the invites. 


Yep, I assembled those diamond rings on the road! Even with my shaky hands.  

I started at home, by stamping the background with Center Cut Heart Background using Soft Granite ink using my MISTI.  My Pinkfresh stitched scalloped squares had just arrived, so I tried several different combos and ended up with the smaller die set in 2 different shades of pink.  Those were super quick to cut in my Gemini Jr.  Edges were inked with pink ink and that was adhered to the front of the card. 

Using a silver card stock, I die cut the ring and setting in my Side kick.  Holographic card stock was used for the "diamond".  And just to make this a little more solid, I die cut all this again with 110 lb card stock.  Using precision glue and tweezers, the diamond ring was assembled and then adhered to the center of the card.

The inside invitation was printed with my computer, trimmed and adhered inside with score tape.  And once the invitations were addressed and stamped, we mailed them from Colorado.

Our road trip was awesome!  We stayed in Keystone and we road the gondola to the top of Vail and had lunch.  It's a perfect place to bring kids of all ages, lots of activities to do.  Glenwood Springs is my favorite place on earth!  We spent several hours there soaking up the mineral waters with over 1,000,000 gallons of water!  Another highlight was renting a pontoon boat on Lake Dillon and cruising the lake!  Shopping of course, was included and fun!  Best of all was spending this time with my Parents and Sister!

Have a great day and keep on crafting.

Affiliate links used at no cost to you.  Not all links are affiliate, I just want to share what I used.  All products were purchase by me unless noted.  I don’t sell anything nor am I employed.  This is my hobby and I hope to inspire you to play :)


Tuesday, July 20, 2021

Have I Told You How Much I Like Butterflies?

 I've fallen in love with all the recent butterfly products that have recently came out and my shopping has reflected it!  I've also decided that when I'm really happy with a card and I haven't put on a sentiment - I'm ok with that.

Today's card uses the Tim Holtz Mini Detailed Butterflies.  I die cut them with a white heavy card stock and generic black card stock using my mini die cut machine (Side Kick).  I actually sat on the floor and had a little desk set up with my Tonic Travel Glass Mat and die cut while watching a show on tv with the family.

Using Tombow markers I "loosely" colored on white with vibrant colors, knowing that a black outline die cut would be glued on top and hide imperfections.  Which is exactly what I did next using HoneyBee Creative Precision Tip Glue.  They went together really quickly and I ended up making lots of them.  

The background was made with a sizzix embossing folder that had been inked with a brayer and a mix of Lucky Clover and Mowed Lawn Distress Oxide Inks.  I ran that through my Gemini Jr and proceeded to assemble my card.  I've found I have better luck using score tape to attach my embossed piece to the card base.

My colorful butterflies and pearls (from my stash) were attached with glue.

Mini Detailed Butterflies

Mini Detailed Butterflies


Affiliate links used at no cost to you.  Not all links are affiliate, I just want to share what I used.  All products were purchase by me unless noted.  I don’t sell anything nor am I employed.  This is my hobby and I hope to inspire you to play :)


Tuesday, March 9, 2021

Spiritual Cards

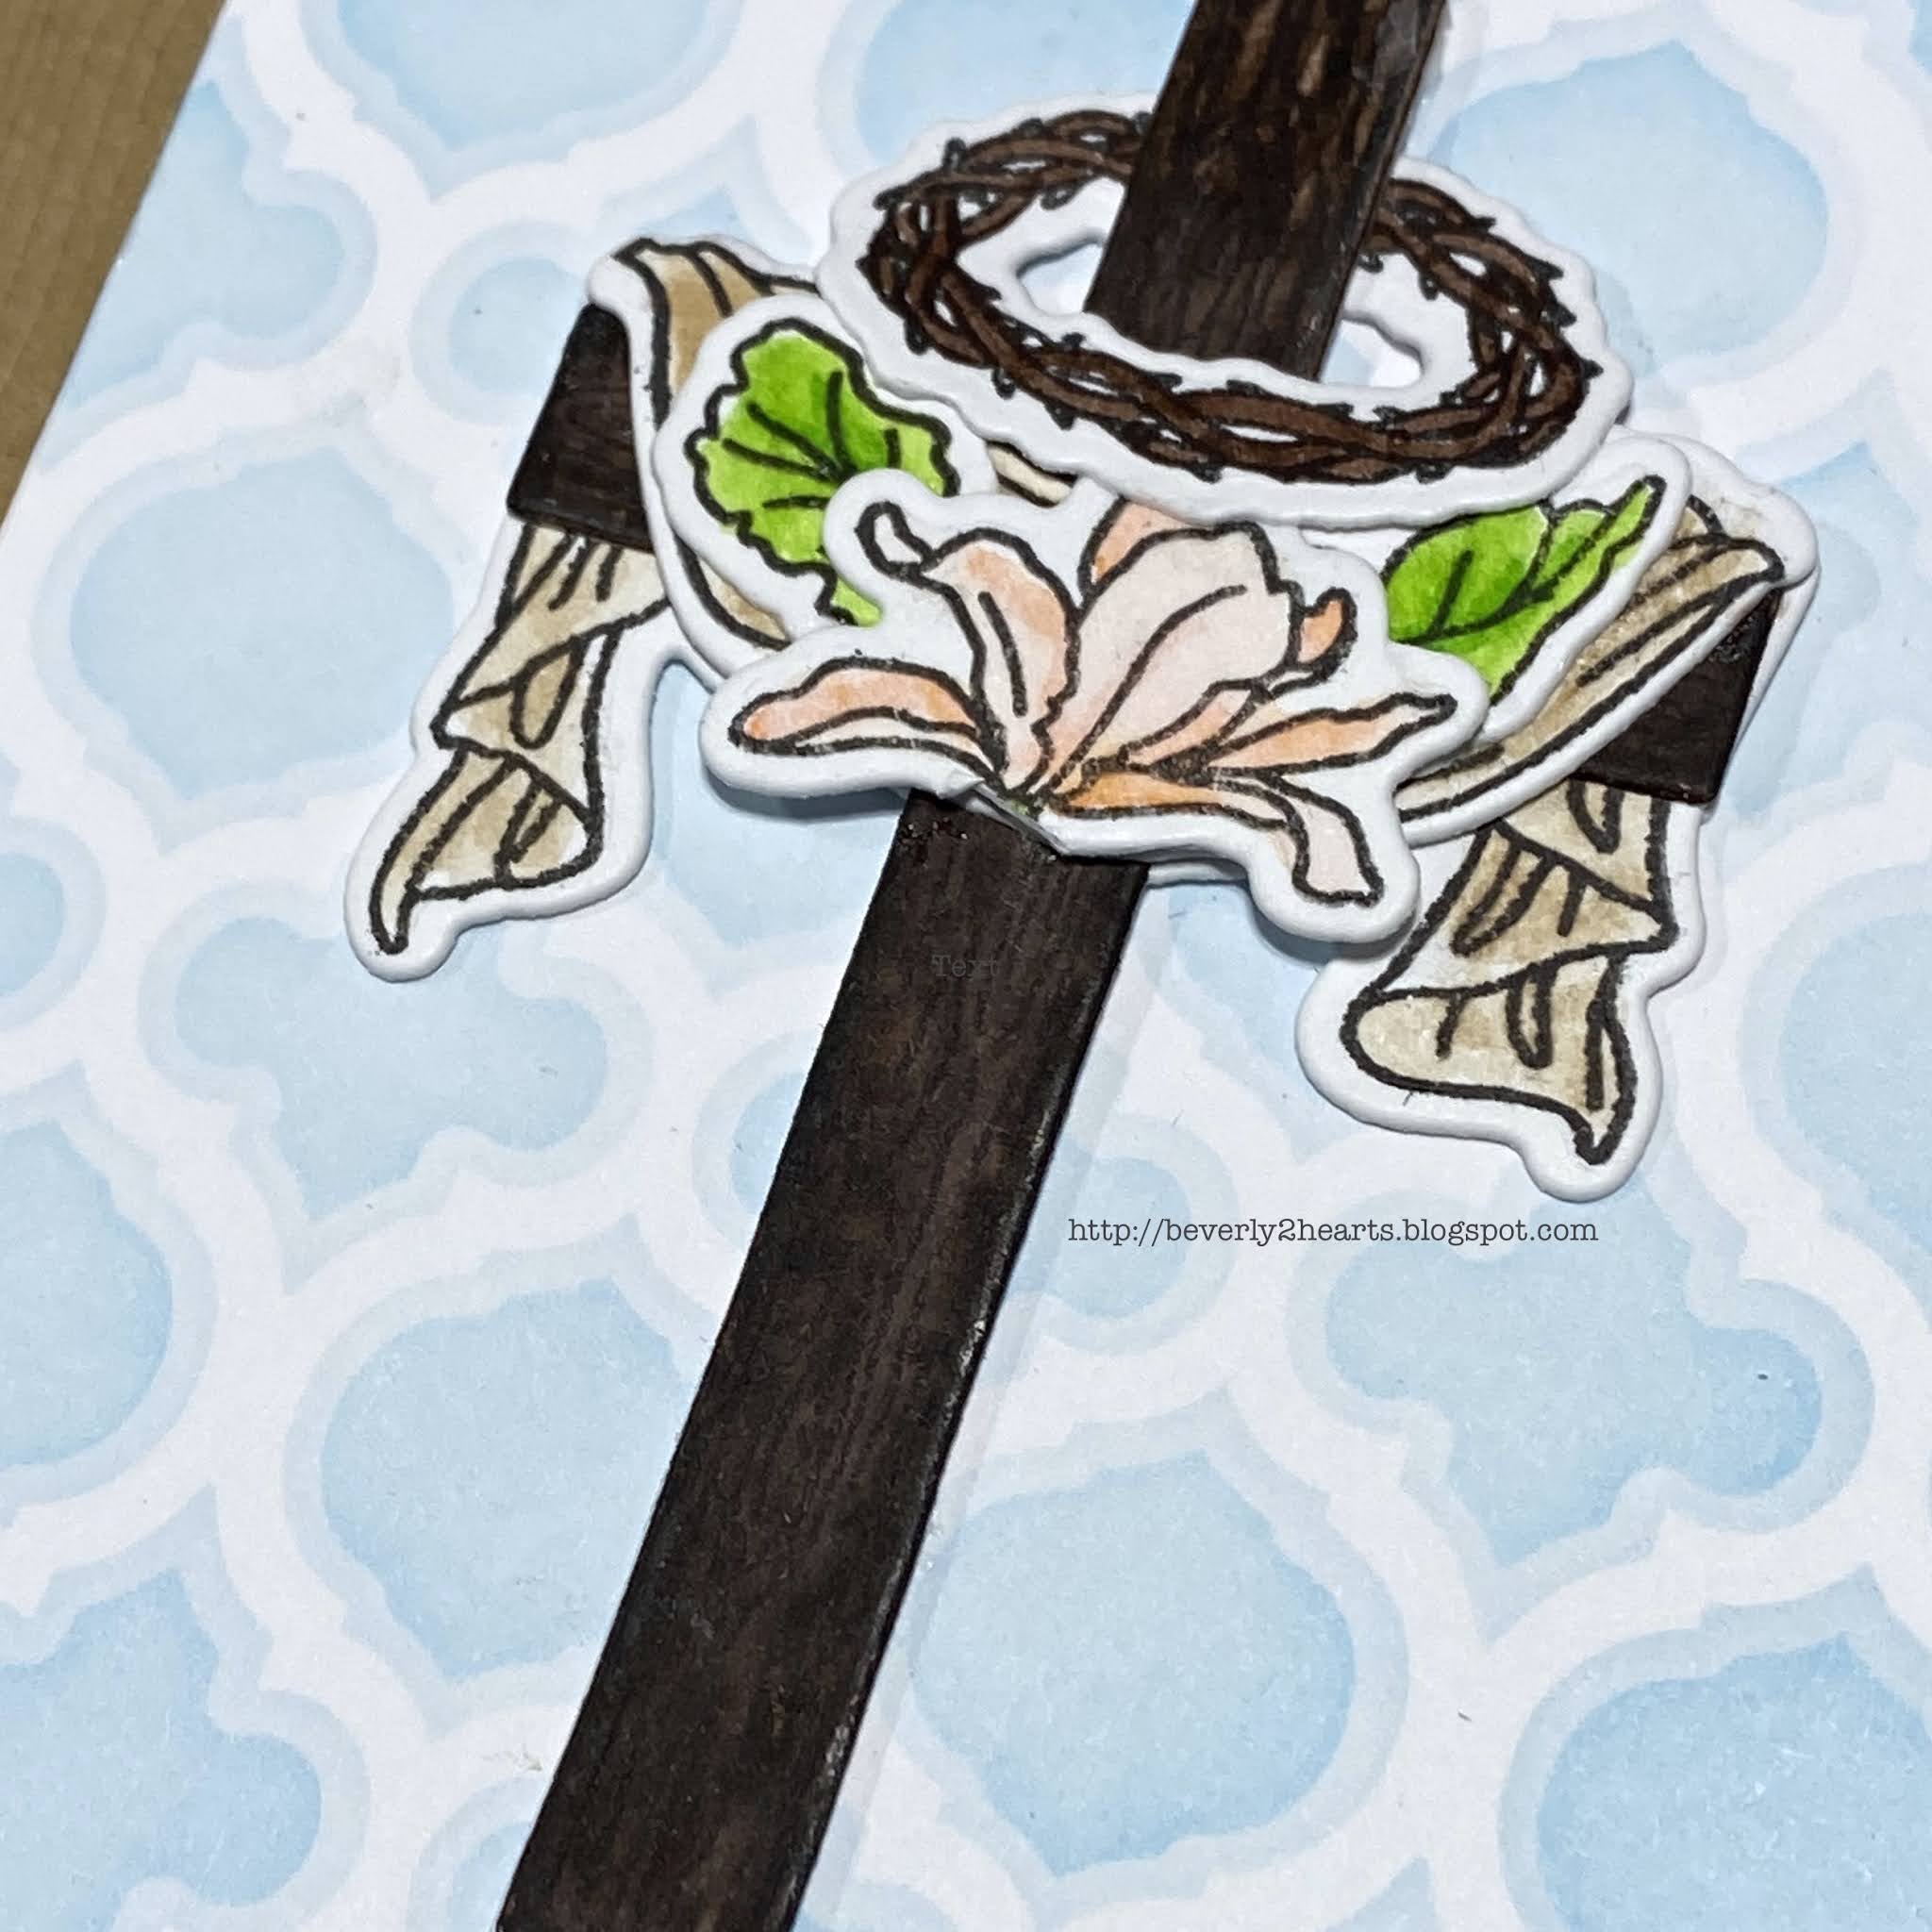
 I've been waiting for some spiritual stamps and dies and Honey Bee Stamps delivered.  The Old Rugged Cross Stamp and Honey Cuts sets are just lovely.  Their newest release included lots of elements that go quite nicely with this large 6x8 set.  One of these days I'm going to buy the whole new release when it comes out. (it's good to have dreams!)

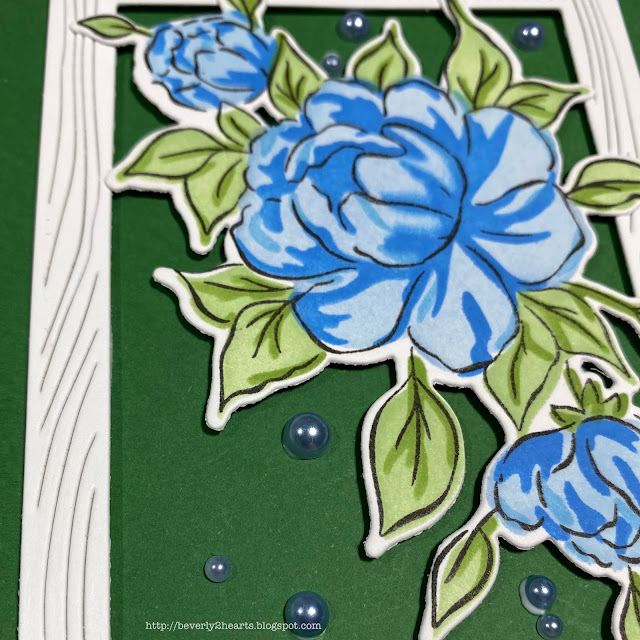
I have two cards todays using the stamp set along with the Wood Frame Builders Set and Quatrafoil stencil set.   Both cards were stamped with Amalgam Ink onto watercolor paper.  Tombow markers and a water brush made coloring easy.  My sentiment is stamped with the amalgam ink and then again with versa mark ink, using my MISTI and then heat embossed with clear embossing powder.  All colored images along with the sentiment and Frame Builders set were die cut using my Gemini Jr.  Additional layers of the cross and frame were also cut, stacked and glued together.  I love how dies are included for the sentiments with Honey Bee Stamps, plus they are already cut apart - bonus!

Two colors of blue ink, Summer Shower and Sky Blue were used with the stencils for the background.   When assembling my cards, glossy accents was used on the flowers and to finish, I added Nuvo drops.

Old Rugged Cross

Old Rugged Cross


Old Rugged Cross

Old Rugged Cross
Have a great day and keep on crafting!

Affiliate links used at no cost to you.  Not all links are affiliate, I just want to share what I used.  All products were purchase by me unless noted.  I don’t sell anything nor am I employed.  This is my hobby and I hope to inspire you to play :)
Sunday, February 7, 2021

All About The Heart Cards

 Hoping your staying warm today, it's 7 degrees here, in St Louis. Actually it's Super Bowl Day - I never watched football until after my second heart transplant.  Still in the hospital with nothing to do.  

Hospital tv doesn't have a lot of variety so I starting watching the pre game shows and was thoroughly entertained.  2013 game was played in New Orleans and they featured lots of local information.  It was also the year that the power went out and changed pace of the game for an upset.  Now, I plan to watch the whole day of Super Bowl coverage.  I'll be watching while I spend the day die cutting - hurray for multi-tasking!

Hearts have always been a favorite of mine, even before the heart transplants.  When The Greetery came out with this line of heart dies and stamps I did my happy dance!  The "add to cart" button was hit several times!  Here are two of the cards I made.

Boxwood Heart Detail Die

Boxwood Heart Detail Die


The first card is made using Designer Woodgrain by Hero Arts stamped with Soft Granite Ink,  Then die cut with Stitched Rectangles in my Gemini Jr.  This is added to my card base.  Boxwood Heart Detail Die was run through the Gemini Jr,   I taped the die cut pieces back into the negative place and colored the piece with blender brushes and Twisted Citron, Tumbled Glass and Peeled Paint Oxide Inks.  I also die cut Boxwood Heart Base out of white card stock.  Using the attached directions, I assembled the leaves and attached with Precision Glue.  Using gold foil paper, I die cut the word love from The Stamps of Life and adhered to the heart.  Love is, is stamped with amalgam ink for the sentiment.  Finally, a bow, made with string, is attached.

Love Is Stamp

Love Is Stamp


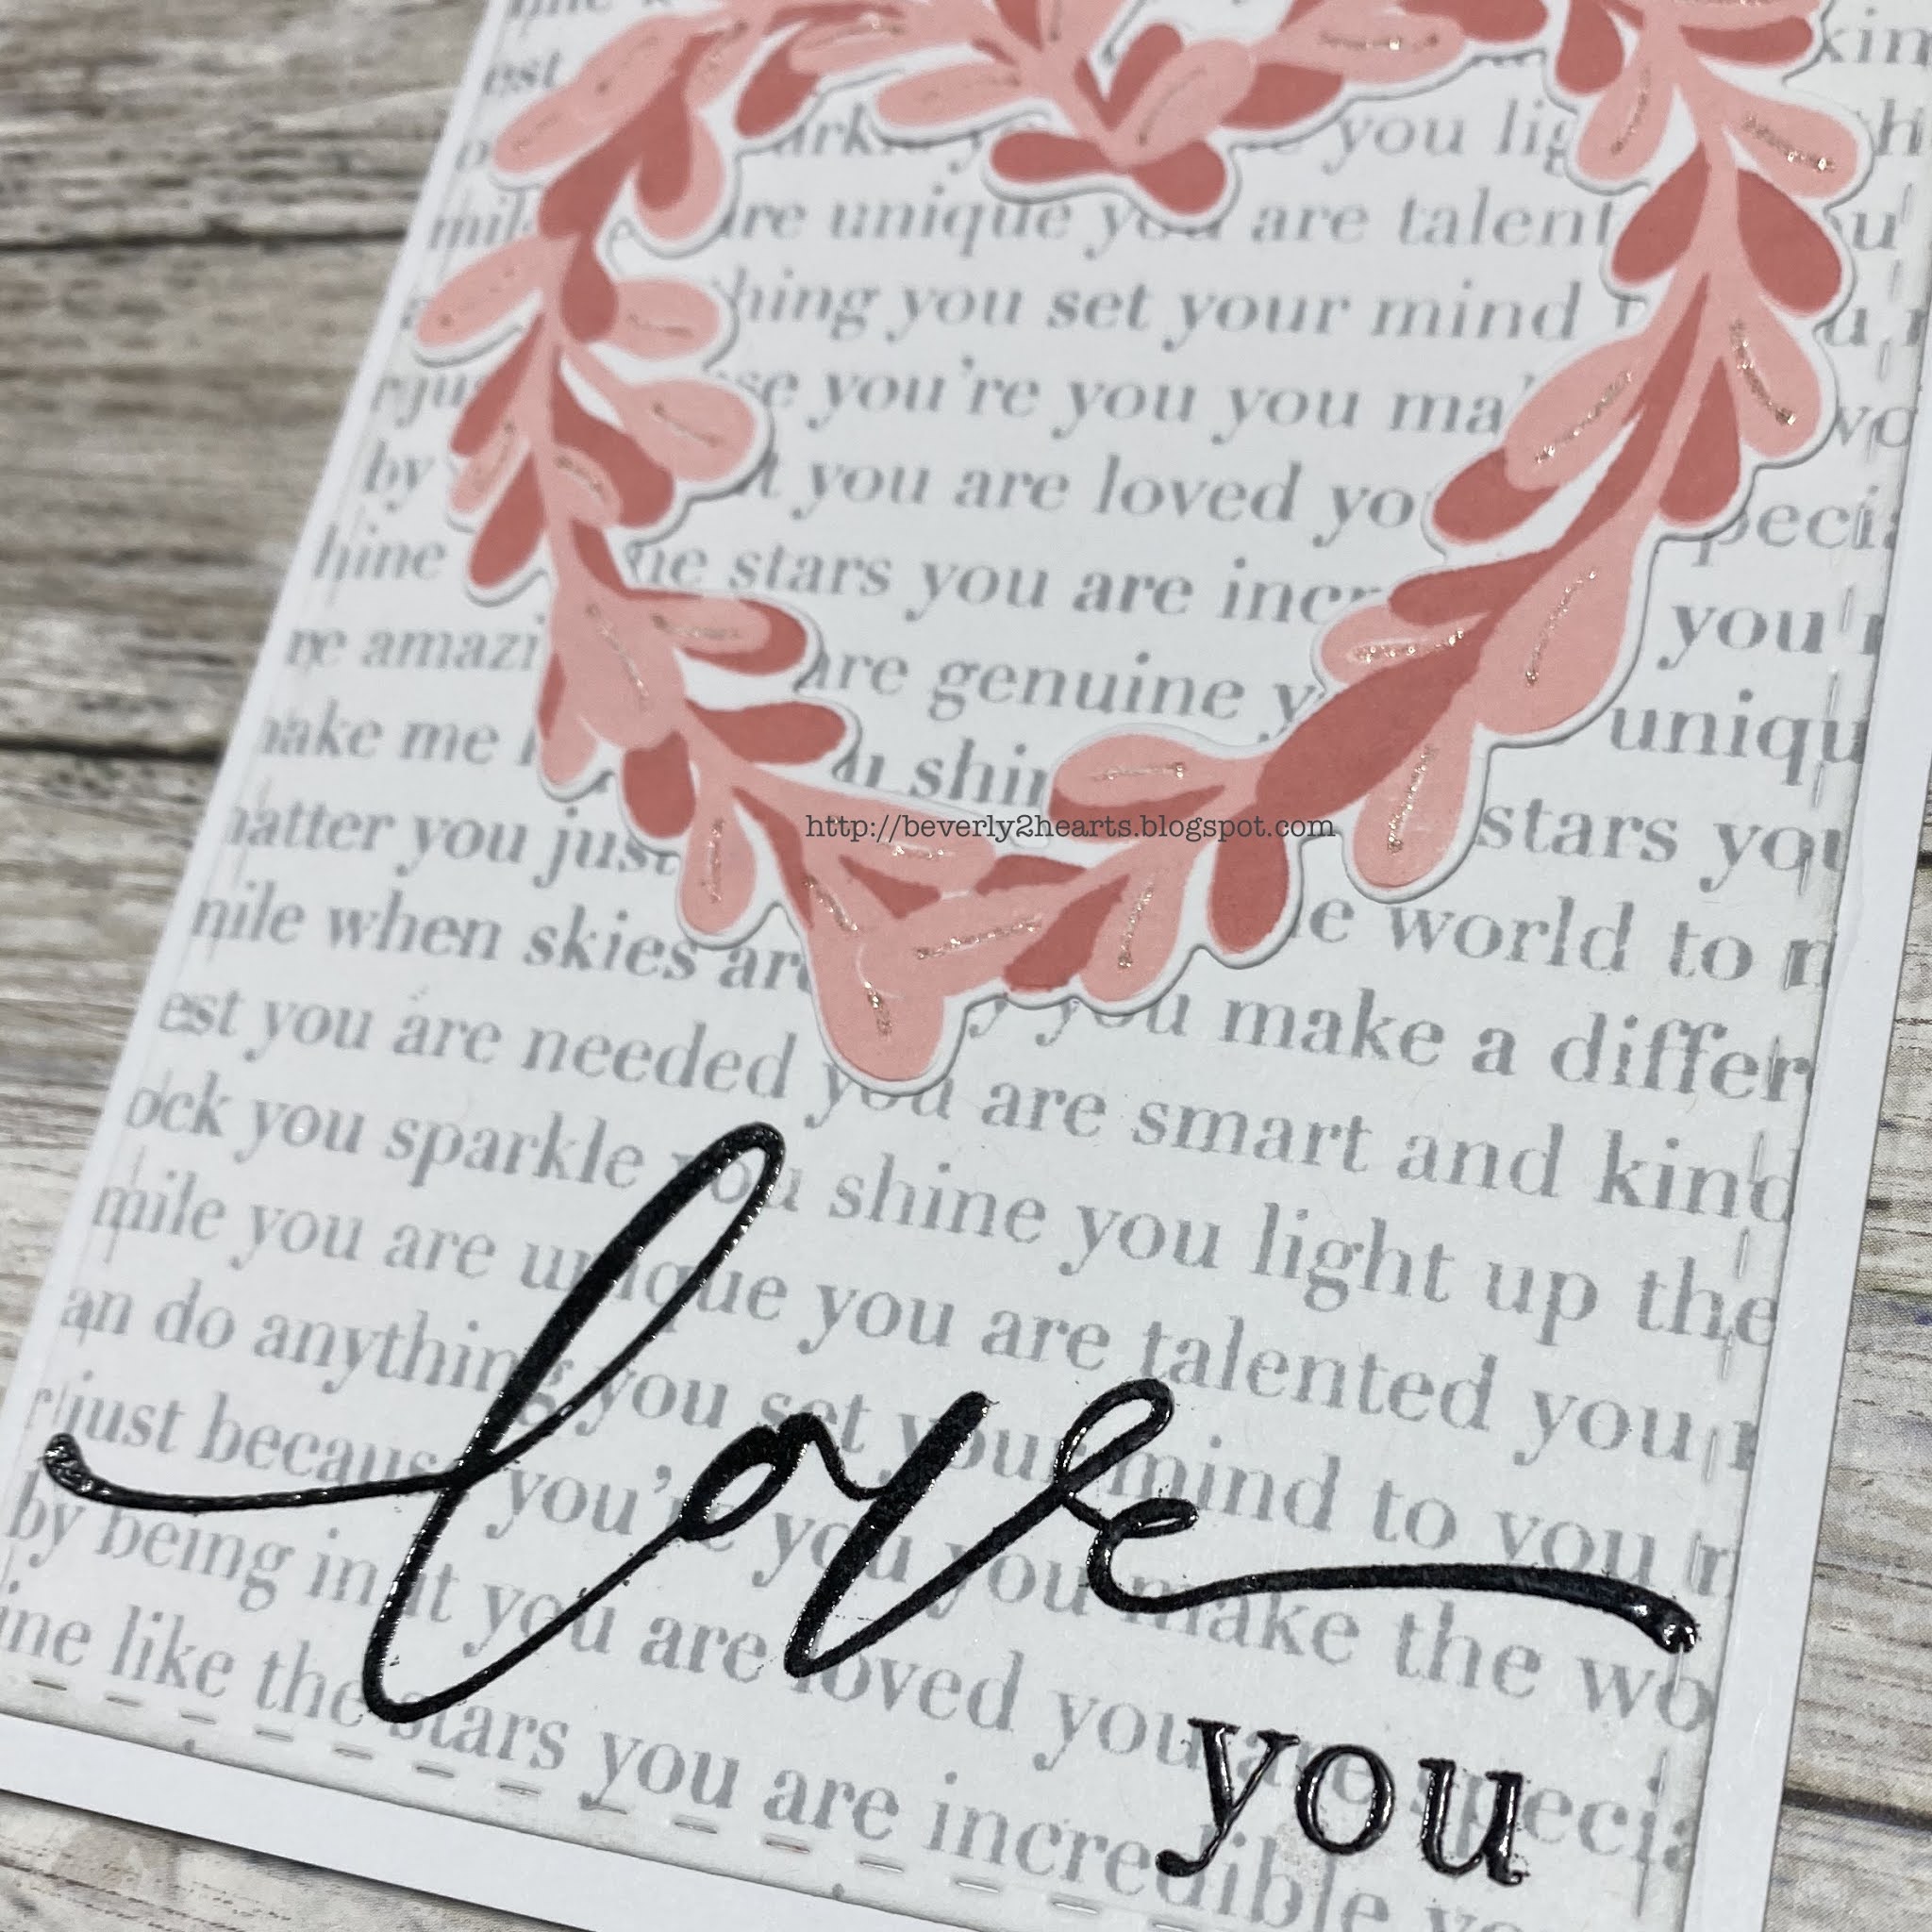
The second card is made similarly but the background stamp is Simon Says Stamp You Are.  Love Is stamp is stamped with Coral Reef and Passion Fruit.  Boxwood Heart Base is used to die cut.  After adhering to base a Stardust pen add sparkle to leaf veins.  Using my MISTI, Amalgam ink and then VersaMark Ink I stamped Love You and heat embossed with clear embossing powder.

Have a great day and keep on crafting!

Affiliate links used at no cost to you.  Not all links are affiliate, I just want to share what I used.  All products were purchase by me unless noted.  I don’t sell anything nor am I employed.  This is my hobby and I hope to inspire you to play :)

Wednesday, January 27, 2021

Fun Family Card

 Honey Bee Stamps has some of the cutest stamps ever!  I actually laughed out loud when I read the sentiments on this stamp set.  


I put this card together using Woodland Winter Animals along with Nuts About You.  As usual, I stamped with Amalgam Ink and colored with Copics, the squirrels, however are done with Colored Pencils.  All colored and non colored (Aspen trees) are then die cut using my Gemini Jr..

For my base, I used Sky Blue with Cloud Stencil and Key Lime with Grass Stencil using blender brushes.  Time to assemble my card by attaching all pieces with Precision Tip Glue.

Using my MISTI, I added that funny sentiment with amalgam ink.  The card front is attached to brown card stock from my stash and then attached to a white card base.  White gel pen adds details.

Have a great day and keep on crafting!

Affiliate links used at no cost to you.  Not all links are affiliate, I just want to share what I used.  All products were purchase by me unless noted.  I don’t sell anything nor am I employed.  This is my hobby and I hope to inspire you to play :)

Wednesday, January 6, 2021

Pickup Truck Birthday Card

 The Big Pickup Cab stamp and die just called to me.  I had to have it and a few others from Honey Bee Stamps, so I indulged!  Now was time to play and have some fun doing it.  

http://beverly2hearts.blogspot.com


Once the truck was stamped on copic friendly paper with amalgam ink, I went to town coloring, and it really is an easy image to do that.  A little sparkle pen over the "metal" parts gave some shimmer.  The emblem was die cut using mirror card stock.  Also stamped were the wiper blades and the sentiments.  So cool that HBS includes dies for the sentiments too!  All the die cutting went through my Gemini Jr.  This was the first time I brought out the Burlap die and added a little Vintage Photo Distress Oxide ink around the edges.  Then I adhered it to the ivory card stock using Honey Bee Glue, I like that it is a larger tube-makes it a little easier for me to hold.  Next I added the pickup and a few silver baubles that I had in my stash.

Affiliate links used at no cost to you.  Not all links are affiliate, I just want to share what I used.  All products were purchase by me unless noted.  I don’t sell anything nor am I employed.  This is my hobby and I hope to inspire you to play :)

Monday, August 17, 2020

Flippin Awesome Birthday Card

Had so much fun playing with new stamps and dies from Honey Bee Stamps!  Started with a slimline base and wanted it to resemble walking on the beach.  Kraft paper was die cut with slimline base and edges were inked.  Next, I stamped the flip flops on turquoise paper and again on white.  I die cut the flops and hand cut the white “straps”, they were then glued on top and crystal stickles were spread on top because this girl needs glitter.  Using my MISTI, I stamped several shells using different colors of ink.  Then they were die cut using the Gemini Jr. and colored pencils added detail.


Time to figure the layout, and once that happened I stamped the sentiment with versa mark ink and heat embossed the sea foam embossing powder.  Then…I got out my “sand” and put glue where I wanted the sand and sprinkled it on and let dry.  All the elements were attached, some with glue and some with pop dots.  Please Note:  I won the Mudd Puddles products as an attendance prize.


Have a great day and keep on crafting!


Affiliate links used at no cost to you.  Not all links are affiliate, I just want to share what I used.  All products were purchase by me unless noted.  I don’t sell anything nor am I employed.  This is my hobby and I hope to inspire you to play :)


Thursday, July 16, 2020

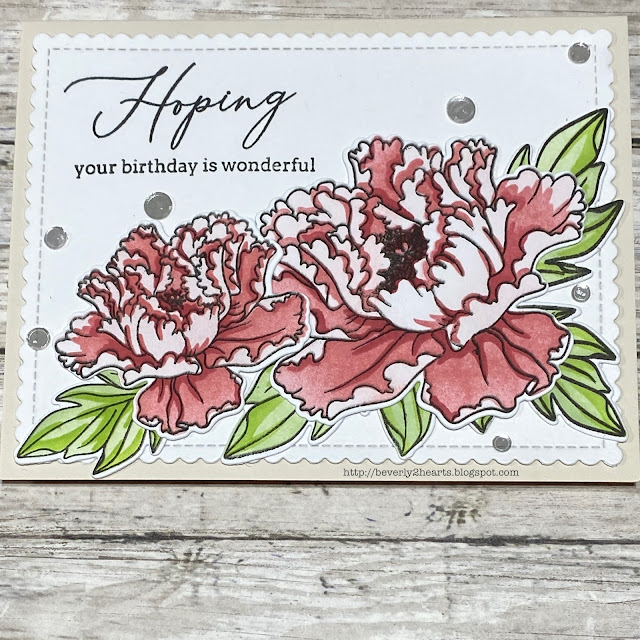
Butterfly Kisses Card

I just adore Birdie Brown images!  This one, from My Favorite Things is called Butterfly Kisses and was so fun and quick to color.  Unfortunately it is sold out. 

I stamped with Tuxedo black ink in my MISTI and colored with Copic markers. A gold pen added earrings, shoe buckle and bracelet while a white gel pen added details. 

Gemini Jr made die cutting the image, stitched rectangles and hexagon stipple plate background a breeze. 

Fun foam raises the rectangle. The sentiment is stamped with sea glass ink. And a stardust pen adds interest to the sentiment strip. Connect glue attaches all the components to the card base 


Have a great day and keep on crafting.

Affiliate links used at no cost to you.  Not all links are affiliate, I just want to share what I used.  All products were purchase by me unless noted.  I don’t sell anything nor am I employed.  This is my hobby and I hope to inspire you to play :)

Saturday, July 11, 2020

Congratulations Slimline Card

Todays card is quick and easy and is part of #thedailymarker30day challenge.  The coloring part is is the second layer.  I didn’t have the right color blue card stock, so I used ink and made it.

Using the Large Slimline die and the Small Slimline with flaps dies, I used my Gemini Jr to cut all three layers, the royal blue and two white panels.  Summer Sky ink is the perfect color, so I used a blender brush to color the edges.  The top panel covers the middle.

Congratulations was die cut with Bold Alphabet from glitter card stock.  It was a glittery afternoon!  I attached the lined up letters with Connect glue and adhered all three layers onto my card base.

This card is for a High School Graduate during this pandemic.  I chose his school colors and I’m sure he will appreciate the inside ($$$) more than the card itself, lol!

Have a great day and keep on crafting.

Affiliate links used at no cost to you.  Not all links are affiliate, I just want to share what I used.  All products were purchase by me unless noted.  I don’t sell anything nor am I employed.  This is my hobby and I hope to inspire you to play :)
Friday, June 26, 2020

My First Gina K Card Kit - Card

First off, Nature's Touch was the first card kit I purchased from Gina K.  The attention to detail when I opened the box was impressive! It came in a priority mail box and had a sticky large bubble wrap (that came off easily) attached to the plastic storage box that holds kit contents.  If you’ve ever received one of these boxes crushed (I have) you’ll appreciate the effort!

Alcohol ink came to mind to use with the Best Flowers stamp set.  I had a few pieces done but needed two with different colors (green for the leaves).   After the yupo paper was dried with my heat tool, time to stamp.  My MISTI makes stamping easier. Since I have never stamped on yupo paper I decided to try amalgam ink.  Die cut with coordinating dies in my Gemini Jr.  Next, the white space was cut with stitched rectangles and the sentiment was again stamped in the MISTI.  Finally this piece is backed with black card stock. 


Time for to assemble the card. My base is Sea Glass (from the kit).  I arranged the the flowers to wrap around the sentiment, using some foam tape for dimension and added Sparkling Crystals.

Have a great day and keep on crafting

Affiliate links used at no cost to you.  Not all links are affiliate, I just want to share what I used.  All products were purchase by me unless noted.  I don’t sell anything nor am I employed.  This is my hobby and I hope to inspire you to play :)

Wednesday, June 24, 2020

60th Birthday Card


Got a card for a Big birthday …at least that’s what he keeps saying.  My love is turning 60 and I made him a special card.  

I’m using products from lots of companies today.  Starting with the Quintuple Slider from Simon Says Stamps.  Decided to have the Balloon Numbers from Honeybee Stamps cut in Gold Shine card stock, coming up from behind the sentiment - which is from The Stamping Village, it’s colored with Copic markers G46, BG96, E55, E44 and B99.  It’s cut out with Stitched Rectangles from The Stamps of Life and raised with foam tape.  All of this is on my background which is from Laundry Line Paper Pad by Jen Wilson that I got at Hobby Lobby.  I used my Gemini Jr for all the die cutting.  Once my card was assembled, I added some very thin washi tape (from Hobby Lobby) as a border.


Since I cut a 12x12 sheet of Laundry Line, I went ahead and cut card bases for 3 more cards.  Used the sentiments from same stamp set to quickly make 3 similar cards minus the Quintuple slider.

Have a great day and keep on crafting!

Affiliate links used at no cost to you.  Not all links are affiliate, I just want to share what I used.  All products were purchase by my unless noted.  I don’t sell anything nor am I employed.  This is my hobby and I hope to inspire you to play :)

Friday, May 29, 2020

Honey Bee House Builder Card

Hello everyone, anyone else getting annoyed with the this staying at home stuff?  Because I’m a two time Heart Transplant Recipient, I’m used to choosing my needs versus wants.  But it just about broke my heart when Golds Gym closed all the St Louis area locations.  I’m a swimmer and their pool was perfect for me.  Open all day and I could go around noon and practically have the pool to myself.  I miss my swim time - calms me and wears be out.  Enough about me…lets talk card making.

When Honey Bee Stamps introduced their Home Building Honey Cuts, I fell in love!  They have since added a Christmas, Halloween, Sweet Shop, Farm House add on, stencils and paper pads.  Oh the possibilities!  I haven’t bought it all, but I’m getting closer - lol.  While I will admit that looking at all those dies, it did seem a bit overwhelming.  But now that I’ve done a few….loving it!!!!  


You need the House Builder Honey Cut for the house base.  For this one I added the Farm House Add on Stamps and honey cuts along with the shutters from the Gingerbread HouseHome Essentials Paper Pad takes care of roof, siding, front door and chimney.  Stencils work if you don’t have the paper pad.  I will tell you that teeny tiny door handle takes some coordination to adhere, thank goodness for reverse tweezers!  This card makes me so happy - I think I giggled the whole time putting it together.


Have a great day and keep on crafting!  It’s keeping me sane now!

Affiliate links used at no cost to you.  Not all links are affiliate, I just want to share what I used.  All products were purchase by my unless noted.  I don’t sell anything nor am I employed.  This is my hobby and I hope to inspire you to play :)