Wednesday, March 9, 2022

More Pinkfresh Studio Floral - Sympathy Cards - Choose Hope

 Just like my previous post - I'm loving the whole Pinkfresh Studio stamp, stencil and die sets!  This time it's all about Choose Hope.

Unfortunately I needed to make some sympathy cards so when I created a whole bunch of the floral sprays ready to go, I had what I needed to make some quick cards.  Again, I pulled out some cover dies, embellishments and sentiment stamps and put these together pretty easily.

http://beverly2hearts.blogspot.com

  
http://beverly2hearts.blogspot.com

http://beverly2hearts.blogspot.com

http://beverly2hearts.blogspot.com
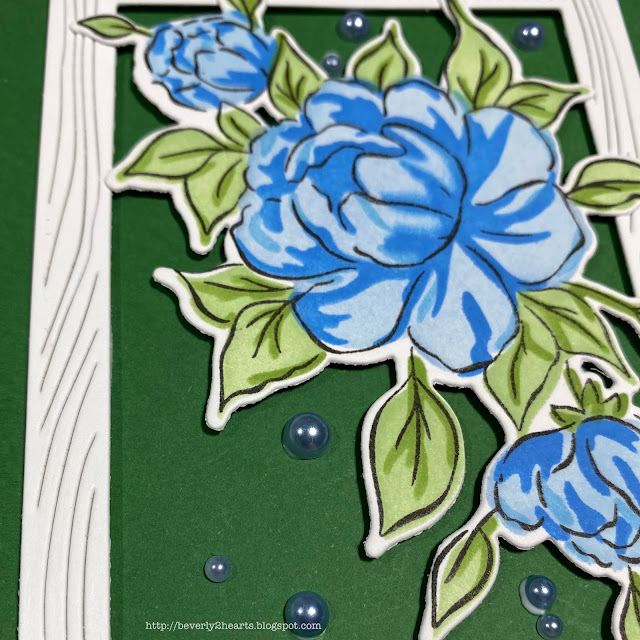
These florals were colored with Pinkfresh inks: Sky Blue, Summer Shower, Seaside, Fresh Pear and Grassy Knoll.  Blender Brushes made the coloring super quick with layering stencils.  Pixie spray helped with those stencils! MISTI helped repeated stamp Choose Hope with Amalgam Ink and of course the Gemini Jr made fast work die cutting.  For the cover dies, I chose Horizontal Stripes, Wood Frame Infinity Die and Leaves and Vines with a white 110 lb card stock.  Scotch foam tape was used with the frame die.  All the card bases were made with Recollections 110 lb card stock.

Sentiment Strips were stamped and attached with Bearly Art Glue.  Embellishments are from Trinity Stamps.  The Tiny Words stamp is from Simon Says Stamp.  Some sparkle pen was used for shimmer.

Have a great day and keep on crafting!

Affiliate links used at no cost to you.  Not all links are affiliate, I just want to share what I used.  All products were purchase by me unless noted.  I don’t sell anything nor am I employed.  This is my hobby and I hope to inspire you to play :)


Tuesday, March 1, 2022

Pinkfresh Floral Cards - So Versatile

 I've been a big fan of Pinkfresh Studios stamp/stencil/die sets!  Recently Pinkfresh had a sale and I purchased a few sets.  Got to tell you, when you color your images with stencils and coordinating inks miracles happen FAST!  I was able to stamp, color and die cut lots of flowers and leaves very quickly.  

Friendship Blooms

Friendship Blooms

Friendship Blooms


Quick tip: using Pixie Spray on back of the stencils moves things along!  First I stamped Friendship Blooms on 110 lb paper with amalgam ink.  Do yourself a favor and stamp lots!  Next is to apply the pixie spray to the back of the stencils - there are five.  Using PinkfreshStudios Ink makes color selection a breeze - as there are four shades in each color family.  For these flowers I used Coral Reef, Passionfruit and Berrylicious, for the leaves, I used Fresh Pear and Grassy Knoll.  Blending brushes make coloring fast, fun and easy.

Once I had several sheets colored, it was time to break out my Gemini Jr and die cut those babies.  And now it's time to make cards!  I searched my cover dies and selected two:  Hexagon Cover Stipple plate and Blueprint 27 - for these I chose white 110 lb card stock and some pale 110 lb Recollections card stock from Michaels.  Used my score tool to fold them.  I attached the card fronts with Bearly Arts Glue-my new favorite wet glue.  Now time to arrange the flowers and leaves and attach.  Using my MISTI, Choose Hope Stamp Set, and Amalgam Ink I stamped the sentiments.  Once that was finished, I added some embellies from my stash.  The cards are finished but I still have more flowers and leaves in different colors to make more cards.

Have a great day and keep on crafting!

Affiliate links used at no cost to you.  Not all links are affiliate, I just want to share what I used.  All products were purchase by me unless noted.  I don’t sell anything nor am I employed.  This is my hobby and I hope to inspire you to play :)

Monday, January 31, 2022

Mini Slimline "Money Cards"

 Sorry, I've been away so long!  But I'm back now with some cards I gave at Christmas for those that chose $$$.  Even decided to leave them blank inside so they could reuse them.  The gift bag had the to/from information on it.

Slim Line Money Cards

When I saw the Paper Bag Die, I knew who would get a card with that!  I chose three colors of pink card stock from Michaels and some gold foil to use for the die cuts.  Once the "handles" were attached with glue, it was time to arrange them on a mini slimline die cut on vellum.  Glue dots were placed behind the bags to attach to hide the adhesive.  This was attached to two stacking die cuts and adhered to a mini slimline card base.

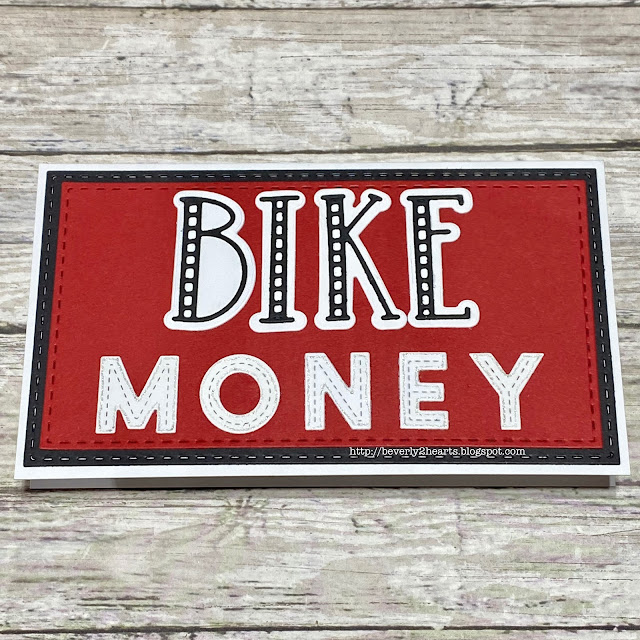
Money Card


My second recipient is big into off road biking and thought the direct approach was best.  Choosing Red, White and Black the card was similarly made like the first.  Only using the Striped Alphas and the Oliver Dies.  A stardust pen adds interest to the alphas.

Have a great day and keep on crafting!

Affiliate links used at no cost to you.  Not all links are affiliate, I just want to share what I used.  All products were purchase by me unless noted.  I don’t sell anything nor am I employed.  This is my hobby and I hope to inspire you to play :)


Friday, September 10, 2021

I Bee-lieve in You Card

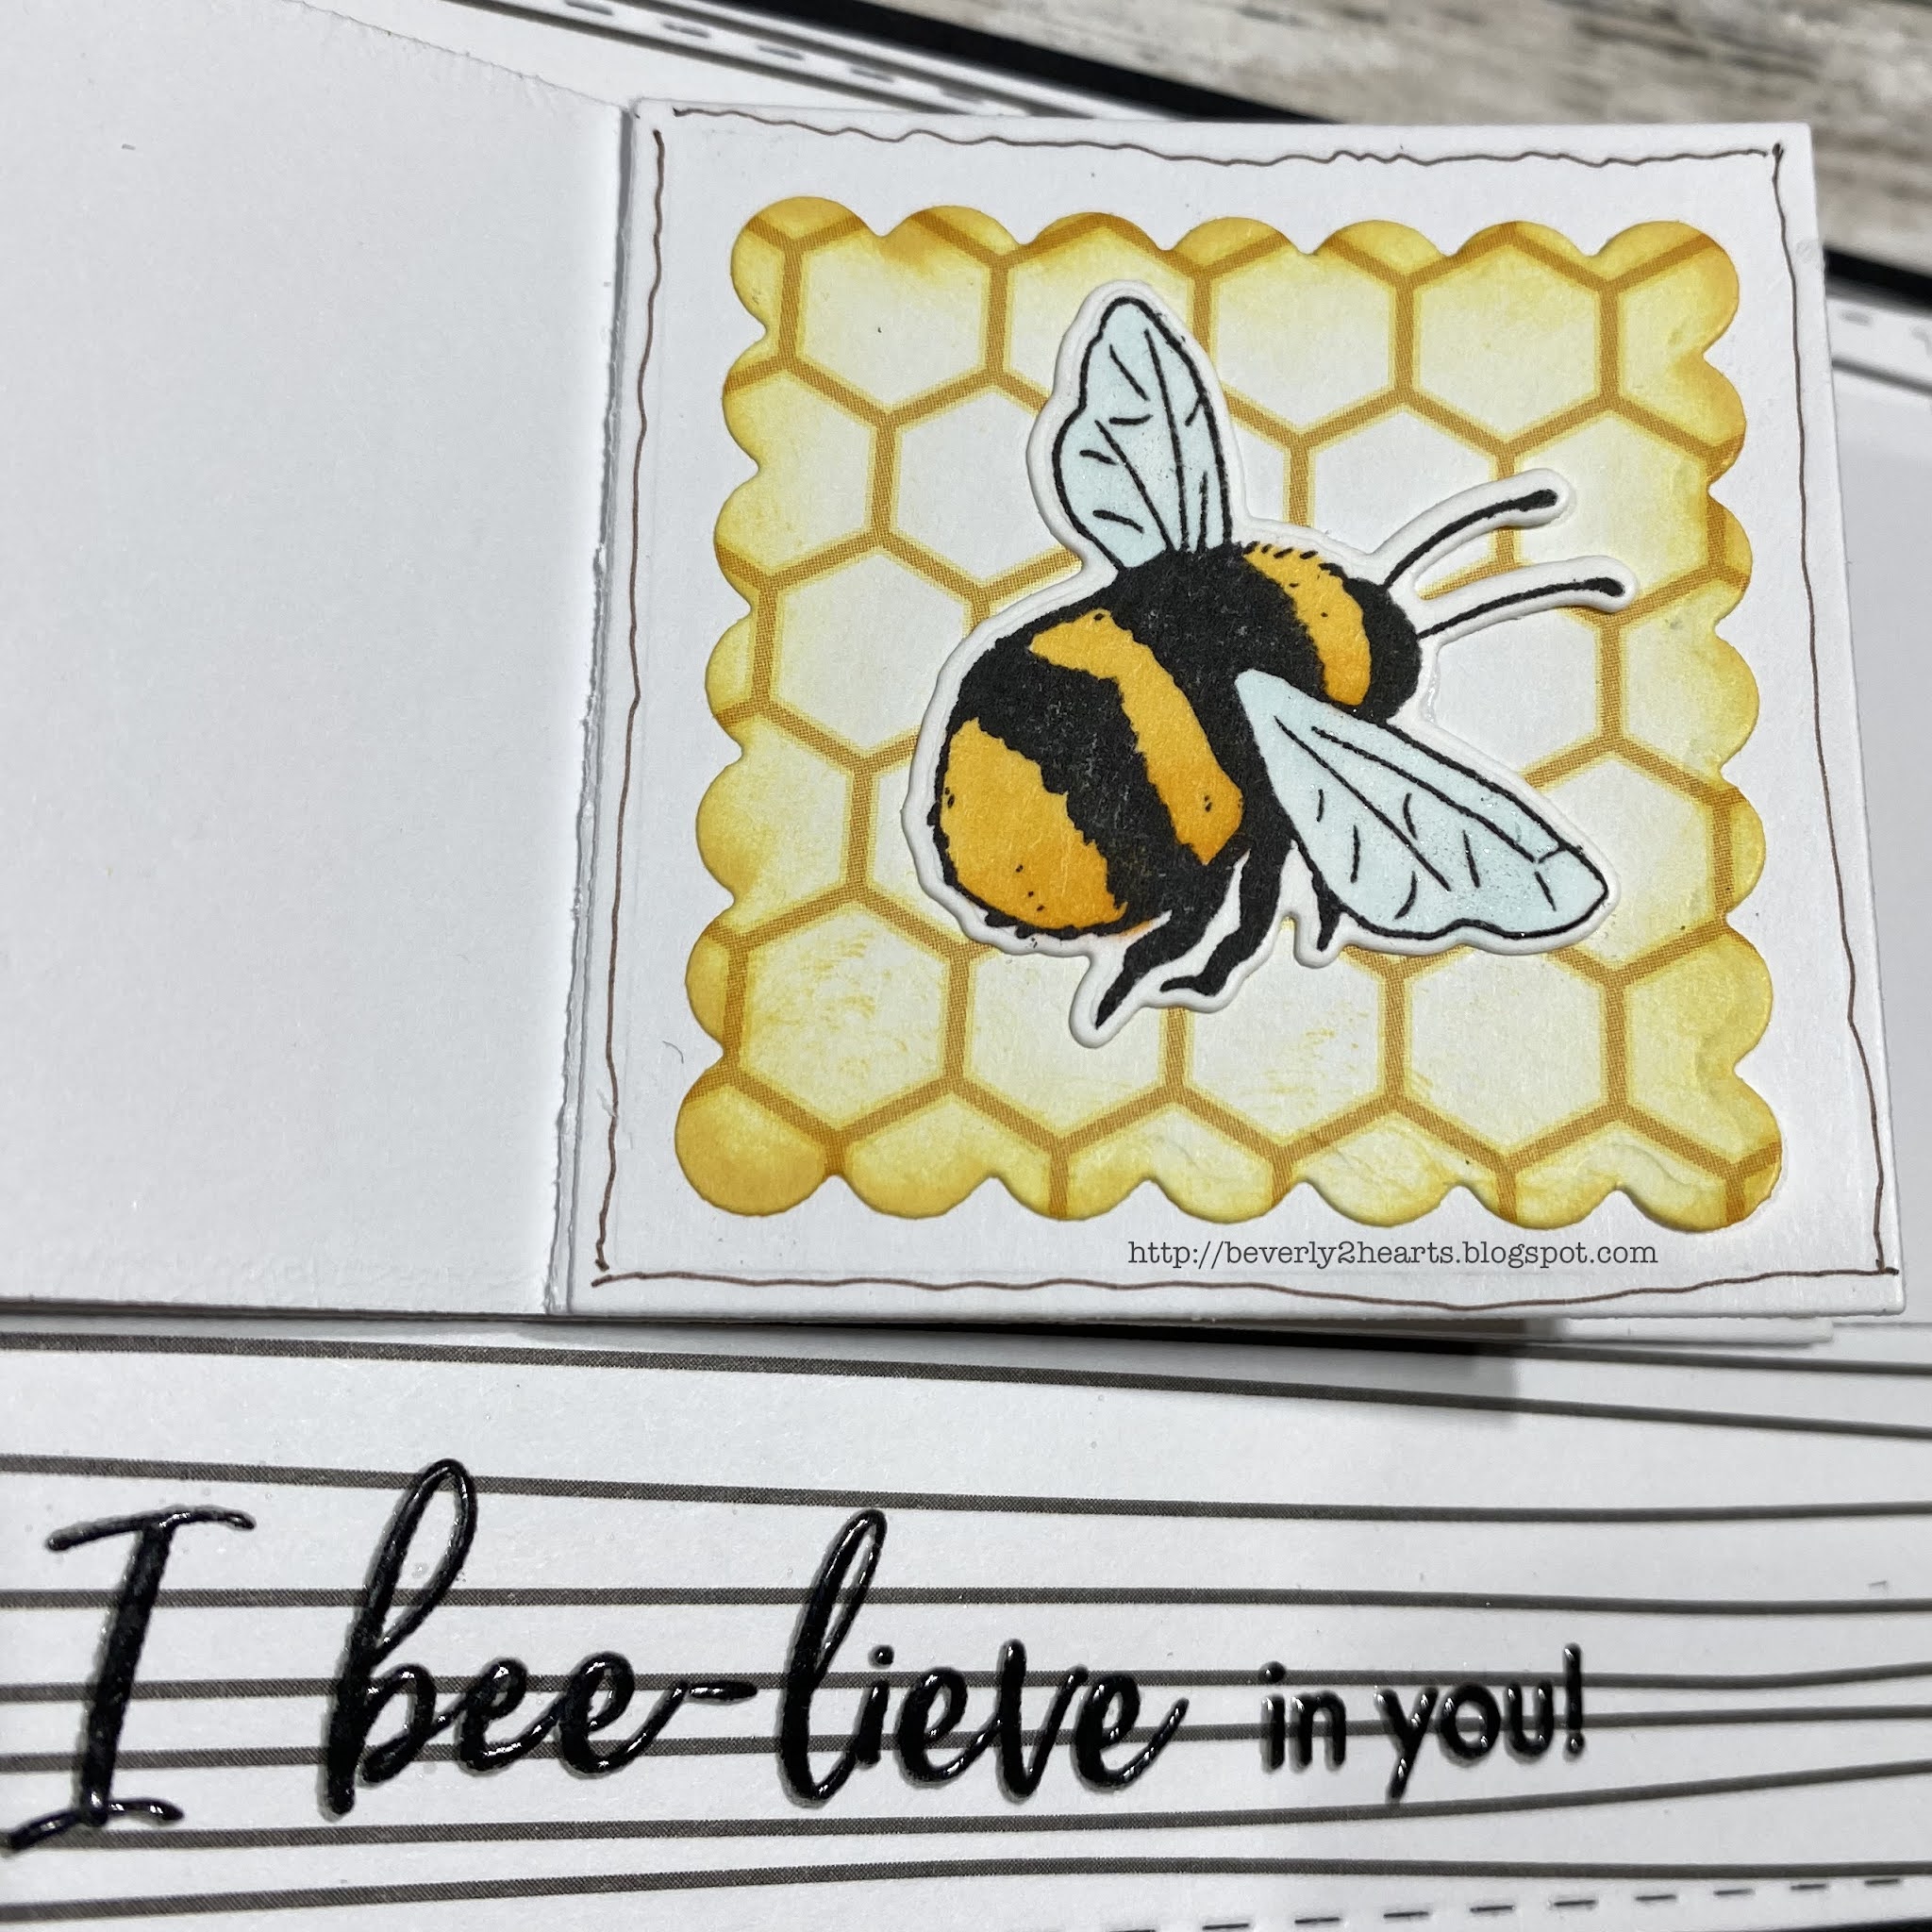
 Often, I will stamp some images to color - with no intention of how I'm going to use it.  Today's card is using some colored bees from the My Monthly Hero January 21 kit.  The bees were colored with Tombow Markers.  A sparkle pen was added to the wings for shimmer.  

Starting with The Bees Knees paper pad, I selected a few sheets and used Stitched Rectangles for the background.  Flippin Awesome die gave me a place for all three bees.  The honeycomb paper was die cut and inked with Butter Bar ink.  My sentiment was stamped with Amalgam ink using the MISTI and then restamped with Versamark ink and heat embossed with clear embossing powder twice for extra dimension.  The card was assembled and adhered on black card stock.

Flippin Awesome


Have a great day and keep on crafting!

Affiliate links used at no cost to you.  Not all links are affiliate, I just want to share what I used.  All products were purchase by me unless noted.  I don’t sell anything nor am I employed.  This is my hobby and I hope to inspire you to play :)
Monday, August 30, 2021

Birthday Card with a Sundae

Have you heard about The Stamps of Life?  They have several really reasonably priced monthly subscription clubs. Actually, it was my first stamping subscription club I ever joined.  Todays card is made with the sundae2stamp set.

http://beverly2hearts.blogspot.com

 Who doesn't like ice cream?  Not anyone I know!  My Gemini Jr made quick work of the sundae2stamp dies and to make them stand out, I inked all the edges with coordinating colors.  Instead of centering the image on my A2 card, shifting it to the left made room for my daughters name along side with Olivers ABC Letters.  The perfect background paper is an older set from My Favorite Things that they no longer sell. Glossy accents add shine to the cherry on top and a sparkle pen adds interest to the letters.  Silver baubles from my stash are adhered for more shine.

Have a great day and keep on crafting!

Affiliate links used at no cost to you.  Not all links are affiliate, I just want to share what I used.  All products were purchase by me unless noted.  I don’t sell anything nor am I employed.  This is my hobby and I hope to inspire you to play :)


Wednesday, August 25, 2021

Bridal Shower Invite and Road Trip Crafting

 My beautiful niece, Maura, is getting married!  My sister and I are throwing a Bridal Shower for her and below is what I came up with for an invite.  

Spellbinders Die

Spellbinders Die
My parents are in their 80's, adventurous and love to travel, even though my Dad worked for the Airlines, my Mom no longer wants to fly - so road trip it is!  My sister and I went with them so we had 3 drivers.  Our original plan was to drive to New Hampshire to see a close family friends Grandson play baseball.  That fell through when he sustained an injury.  When that happened we opted for Colorado.  It was gonna be a 2 day drive so I brought crafty supplies to assemble the invites. 


Yep, I assembled those diamond rings on the road! Even with my shaky hands.  

I started at home, by stamping the background with Center Cut Heart Background using Soft Granite ink using my MISTI.  My Pinkfresh stitched scalloped squares had just arrived, so I tried several different combos and ended up with the smaller die set in 2 different shades of pink.  Those were super quick to cut in my Gemini Jr.  Edges were inked with pink ink and that was adhered to the front of the card. 

Using a silver card stock, I die cut the ring and setting in my Side kick.  Holographic card stock was used for the "diamond".  And just to make this a little more solid, I die cut all this again with 110 lb card stock.  Using precision glue and tweezers, the diamond ring was assembled and then adhered to the center of the card.

The inside invitation was printed with my computer, trimmed and adhered inside with score tape.  And once the invitations were addressed and stamped, we mailed them from Colorado.

Our road trip was awesome!  We stayed in Keystone and we road the gondola to the top of Vail and had lunch.  It's a perfect place to bring kids of all ages, lots of activities to do.  Glenwood Springs is my favorite place on earth!  We spent several hours there soaking up the mineral waters with over 1,000,000 gallons of water!  Another highlight was renting a pontoon boat on Lake Dillon and cruising the lake!  Shopping of course, was included and fun!  Best of all was spending this time with my Parents and Sister!

Have a great day and keep on crafting.

Affiliate links used at no cost to you.  Not all links are affiliate, I just want to share what I used.  All products were purchase by me unless noted.  I don’t sell anything nor am I employed.  This is my hobby and I hope to inspire you to play :)


Tuesday, July 20, 2021

Have I Told You How Much I Like Butterflies?

 I've fallen in love with all the recent butterfly products that have recently came out and my shopping has reflected it!  I've also decided that when I'm really happy with a card and I haven't put on a sentiment - I'm ok with that.

Today's card uses the Tim Holtz Mini Detailed Butterflies.  I die cut them with a white heavy card stock and generic black card stock using my mini die cut machine (Side Kick).  I actually sat on the floor and had a little desk set up with my Tonic Travel Glass Mat and die cut while watching a show on tv with the family.

Using Tombow markers I "loosely" colored on white with vibrant colors, knowing that a black outline die cut would be glued on top and hide imperfections.  Which is exactly what I did next using HoneyBee Creative Precision Tip Glue.  They went together really quickly and I ended up making lots of them.  

The background was made with a sizzix embossing folder that had been inked with a brayer and a mix of Lucky Clover and Mowed Lawn Distress Oxide Inks.  I ran that through my Gemini Jr and proceeded to assemble my card.  I've found I have better luck using score tape to attach my embossed piece to the card base.

My colorful butterflies and pearls (from my stash) were attached with glue.

Mini Detailed Butterflies

Mini Detailed Butterflies


Affiliate links used at no cost to you.  Not all links are affiliate, I just want to share what I used.  All products were purchase by me unless noted.  I don’t sell anything nor am I employed.  This is my hobby and I hope to inspire you to play :)