Sunday, February 7, 2021

All About The Heart Cards

 Hoping your staying warm today, it's 7 degrees here, in St Louis. Actually it's Super Bowl Day - I never watched football until after my second heart transplant.  Still in the hospital with nothing to do.  

Hospital tv doesn't have a lot of variety so I starting watching the pre game shows and was thoroughly entertained.  2013 game was played in New Orleans and they featured lots of local information.  It was also the year that the power went out and changed pace of the game for an upset.  Now, I plan to watch the whole day of Super Bowl coverage.  I'll be watching while I spend the day die cutting - hurray for multi-tasking!

Hearts have always been a favorite of mine, even before the heart transplants.  When The Greetery came out with this line of heart dies and stamps I did my happy dance!  The "add to cart" button was hit several times!  Here are two of the cards I made.

Boxwood Heart Detail Die

Boxwood Heart Detail Die


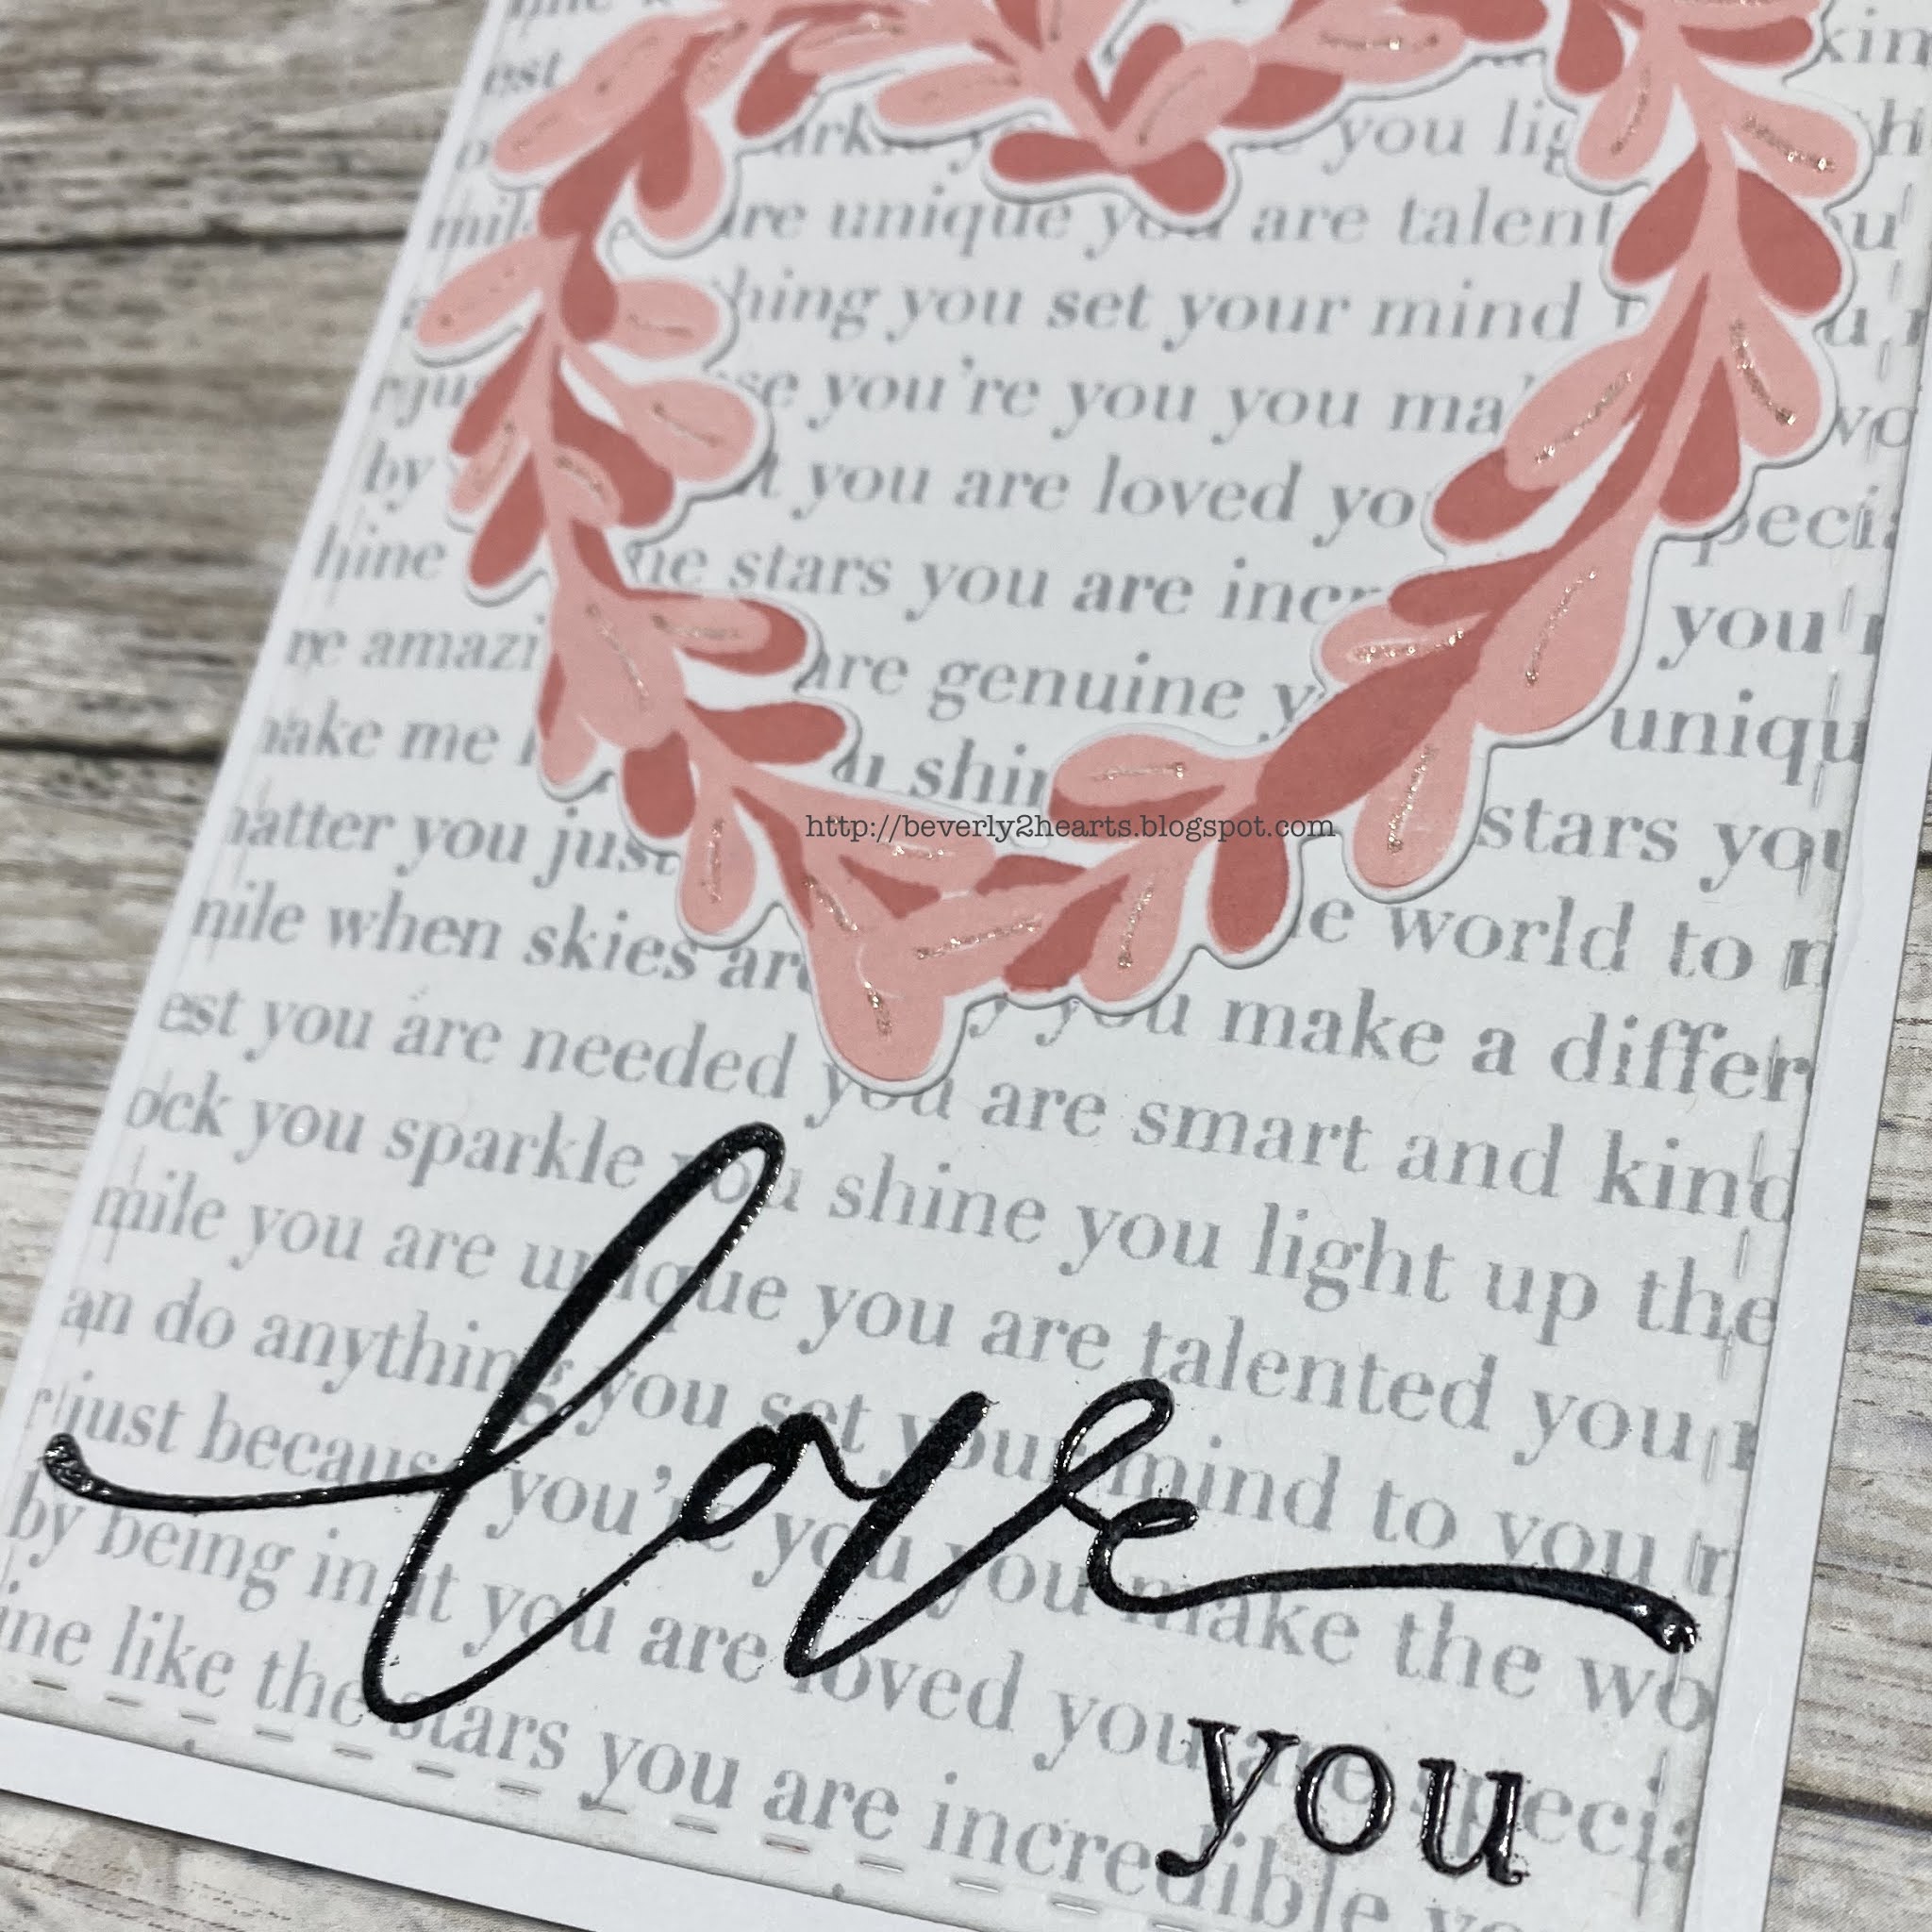
The first card is made using Designer Woodgrain by Hero Arts stamped with Soft Granite Ink,  Then die cut with Stitched Rectangles in my Gemini Jr.  This is added to my card base.  Boxwood Heart Detail Die was run through the Gemini Jr,   I taped the die cut pieces back into the negative place and colored the piece with blender brushes and Twisted Citron, Tumbled Glass and Peeled Paint Oxide Inks.  I also die cut Boxwood Heart Base out of white card stock.  Using the attached directions, I assembled the leaves and attached with Precision Glue.  Using gold foil paper, I die cut the word love from The Stamps of Life and adhered to the heart.  Love is, is stamped with amalgam ink for the sentiment.  Finally, a bow, made with string, is attached.

Love Is Stamp

Love Is Stamp


The second card is made similarly but the background stamp is Simon Says Stamp You Are.  Love Is stamp is stamped with Coral Reef and Passion Fruit.  Boxwood Heart Base is used to die cut.  After adhering to base a Stardust pen add sparkle to leaf veins.  Using my MISTI, Amalgam ink and then VersaMark Ink I stamped Love You and heat embossed with clear embossing powder.

Have a great day and keep on crafting!

Affiliate links used at no cost to you.  Not all links are affiliate, I just want to share what I used.  All products were purchase by me unless noted.  I don’t sell anything nor am I employed.  This is my hobby and I hope to inspire you to play :)

Wednesday, January 27, 2021

Fun Family Card

 Honey Bee Stamps has some of the cutest stamps ever!  I actually laughed out loud when I read the sentiments on this stamp set.  


I put this card together using Woodland Winter Animals along with Nuts About You.  As usual, I stamped with Amalgam Ink and colored with Copics, the squirrels, however are done with Colored Pencils.  All colored and non colored (Aspen trees) are then die cut using my Gemini Jr..

For my base, I used Sky Blue with Cloud Stencil and Key Lime with Grass Stencil using blender brushes.  Time to assemble my card by attaching all pieces with Precision Tip Glue.

Using my MISTI, I added that funny sentiment with amalgam ink.  The card front is attached to brown card stock from my stash and then attached to a white card base.  White gel pen adds details.

Have a great day and keep on crafting!

Affiliate links used at no cost to you.  Not all links are affiliate, I just want to share what I used.  All products were purchase by me unless noted.  I don’t sell anything nor am I employed.  This is my hobby and I hope to inspire you to play :)

Wednesday, January 20, 2021

Sympathy Cards, Needed but I wish it was Happy Moments!

 Unfortunately Sympathy cards are needed.  I sent out two recently and will probably need more soon.

Decided to use a "new to me" Altenew set called Crown Blooms and got to use brand new inks from Pink Fresh Studio as a Christmas gift.  I started with my MISTI and stamping the outline in amalgam ink and then stamping the layers with Ballet Slippers, Sparkling Rose, Bubble Gum and Raspberry Bliss for the flower.  Leaves were also stamped in layers with Olive and Key Lime.  Die cutting came next and then the sprig was colored with Copics.  After arranging the bouquet I decided I wanted a background cover die so I reached for an older die from Darice making a chicken wire.  Using E6000 spray made gluing those slim pieces easier.  Using Precision Tip Glue I adhered my bouquet along the left side.  Crystal Stickles adds a bit of sparkle.

My sentiment is die cut three times and layered then attached.

Altenew Crown Bloom


The next card is done exactly like the first but is larger, the first is an A2 card and this is a 5x7 size.  The Plaid A7 Cover Plate Top covers the card base.  A few more flowers and a sentiment strip is stamped and heat embossed.

Plaid A7 Cover Plate Top


Jennifer McGuire Ink offers many valuable tips and tricks to inspire and better your craft.  I purchased heavy weight card stock for layering and I have to say, it really makes the card substantial!  If you haven't before go check out her blog www.jennifermcguireink.com

Have a great day and keep on crafting!

Affiliate links used at no cost to you.  Not all links are affiliate, I just want to share what I used.  All products were purchase by me unless noted.  I don’t sell anything nor am I employed.  This is my hobby and I hope to inspire you to play :)

Friday, January 15, 2021

Birthday Box Card

 I hope you all had a good holiday!  I know it was a bit strange but at our house we made lemonade with this big pile of lemons.

My best friend gave me a bag full of The Stamps of Life goodies and today's card uses one of those - Thanks Becky!

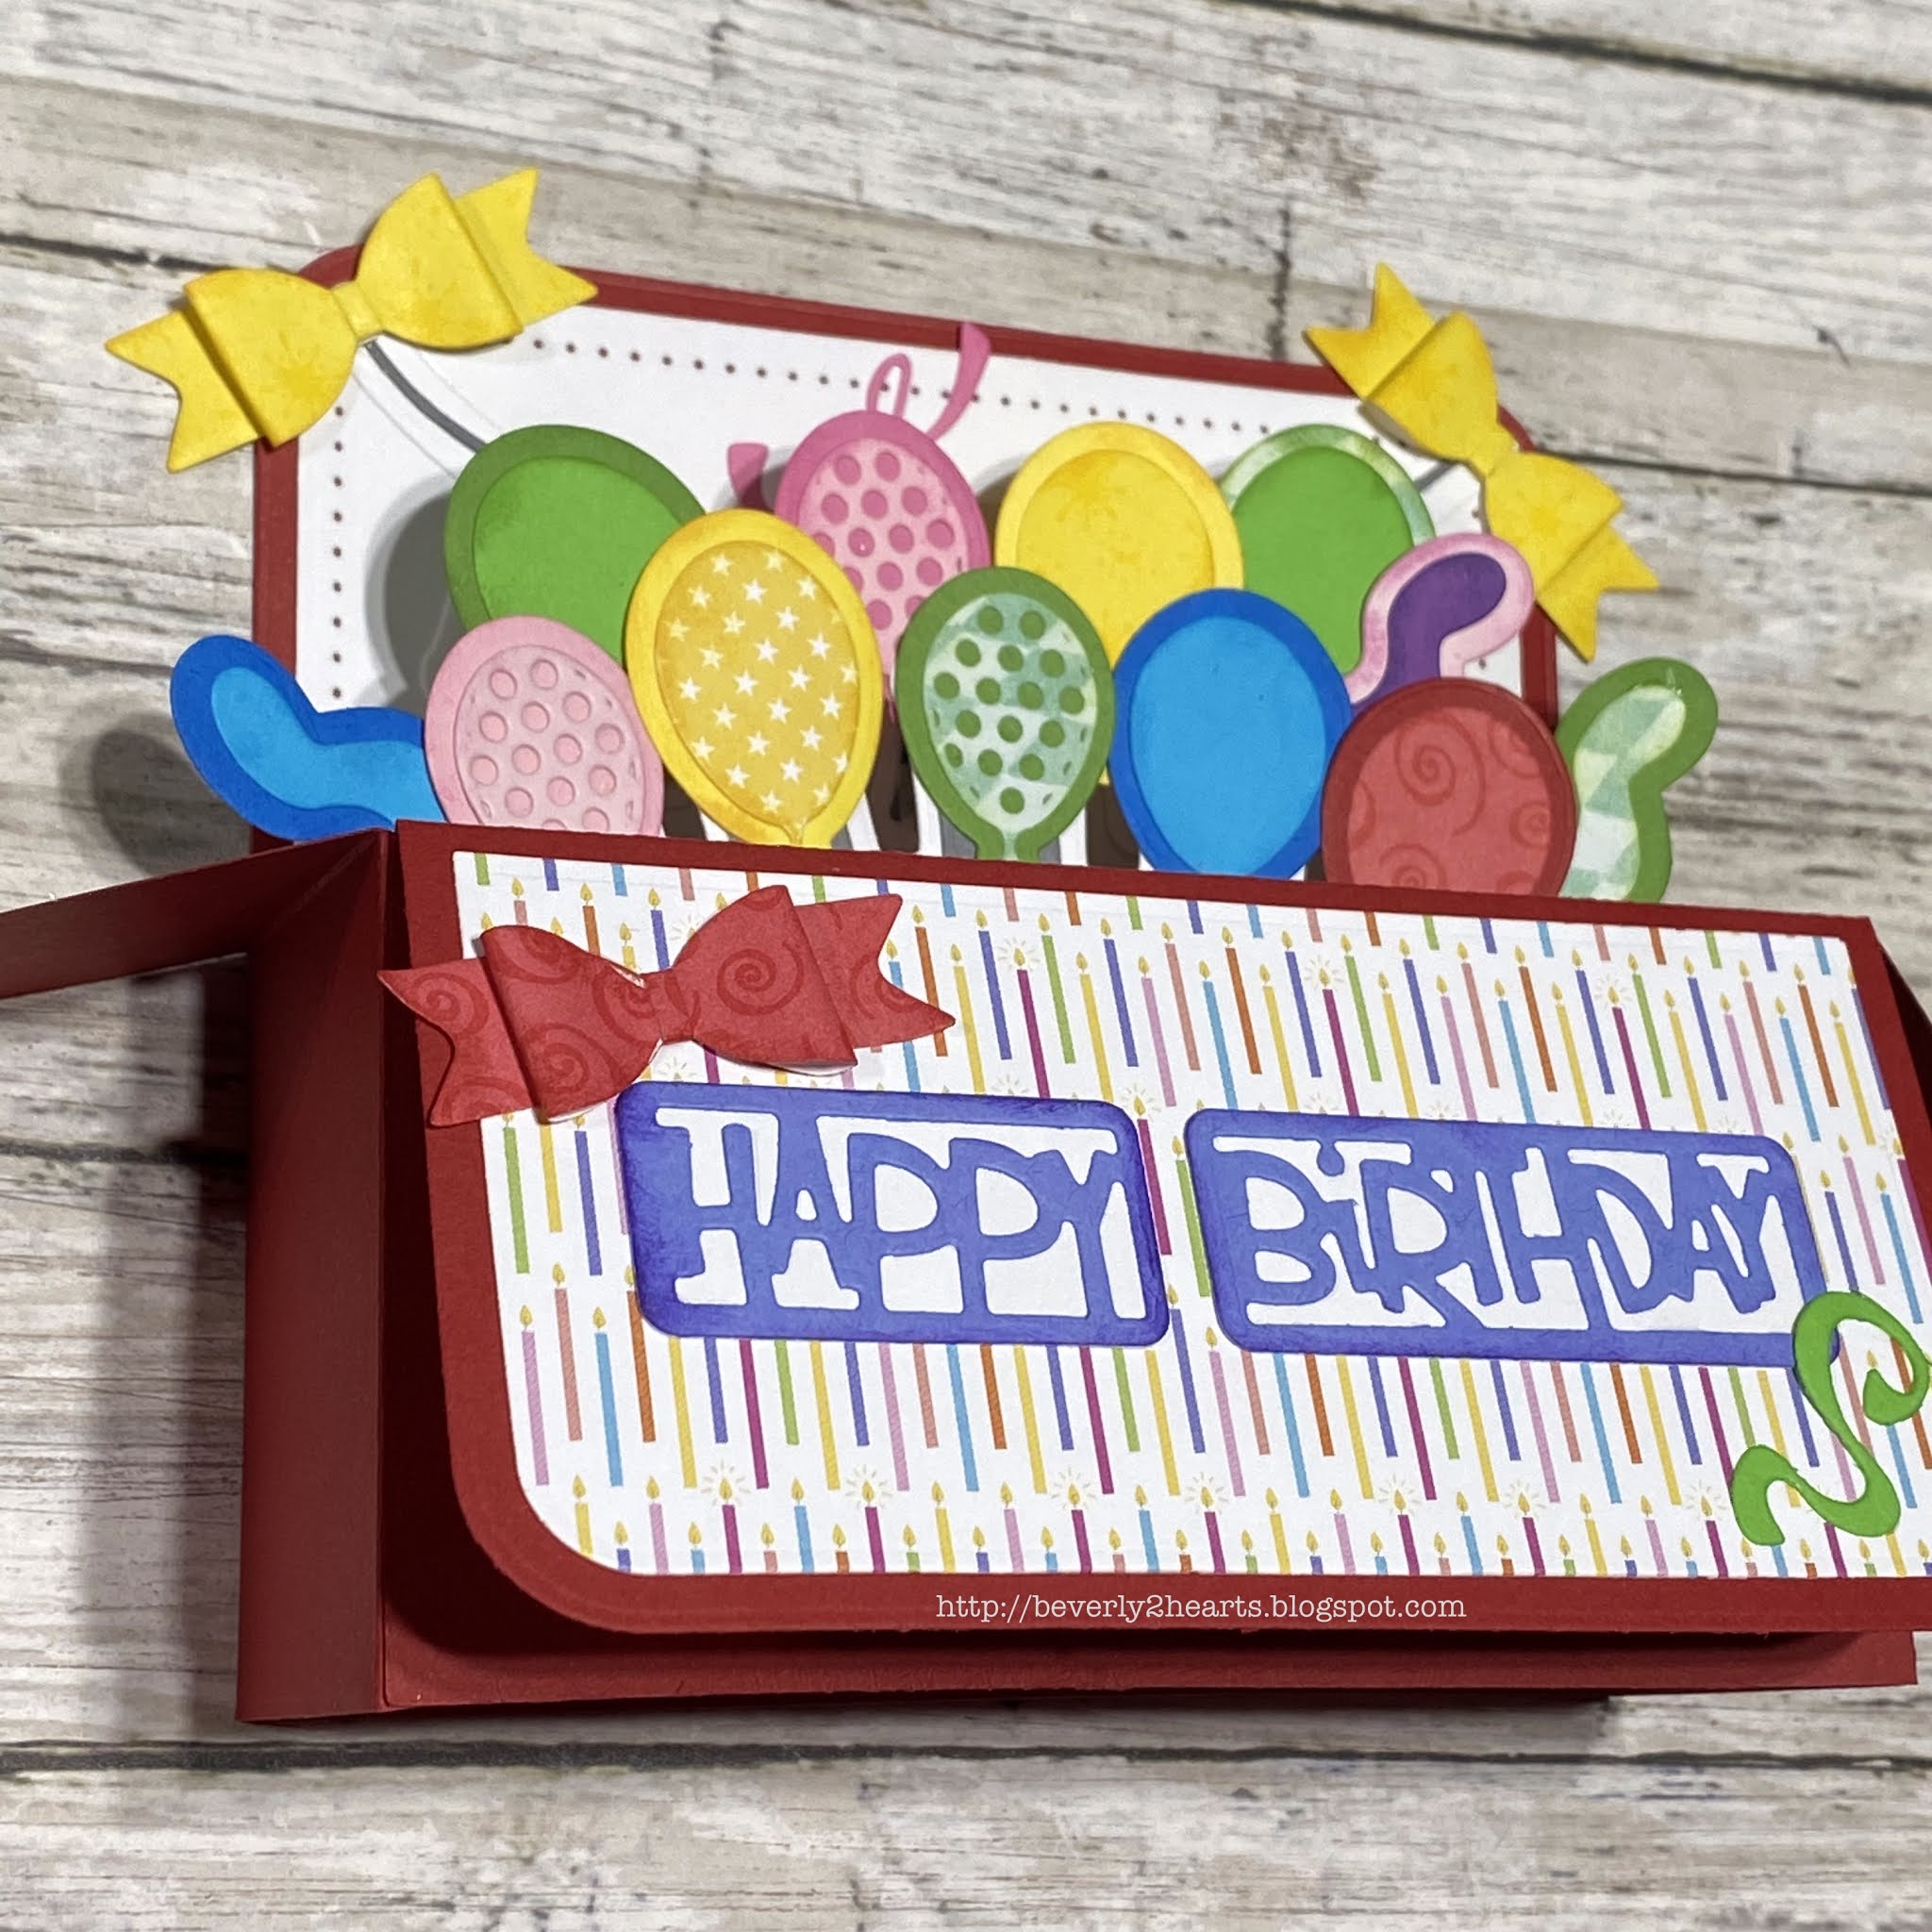
So this is a bigger box card - 5x7 but it all went through my regular size Gemini Jr just fine.  Included with this set was a booklet with instructions and examples and I pretty much scrap lifted from that.  

5x7 Box Card Set

5x7 box card set

5x7 box card set

5x7 box card set


The card went together quickly but there was lots of die cutting.  To combat this, I cut scraps to fit the smaller dies and filled the die cut plate to make fewer passes, purple tape helped corral all those bits.  I did use a few 6x6 paper pad scraps.  Then I added ink around the edges to define each color.  

Often, I will make two cards at once as I did today.  The difference is the sentiment and bows.  The framed rounded sentiment came with the die set,  while the stacked die, I already owned.  Just changing things up a bit.

Have a great day and keep on crafting!

Affiliate links used at no cost to you.  Not all links are affiliate, I just want to share what I used.  All products were purchase by me unless noted.  I don’t sell anything nor am I employed.  This is my hobby and I hope to inspire you to play :)


Wednesday, January 6, 2021

Pickup Truck Birthday Card

 The Big Pickup Cab stamp and die just called to me.  I had to have it and a few others from Honey Bee Stamps, so I indulged!  Now was time to play and have some fun doing it.  

http://beverly2hearts.blogspot.com


Once the truck was stamped on copic friendly paper with amalgam ink, I went to town coloring, and it really is an easy image to do that.  A little sparkle pen over the "metal" parts gave some shimmer.  The emblem was die cut using mirror card stock.  Also stamped were the wiper blades and the sentiments.  So cool that HBS includes dies for the sentiments too!  All the die cutting went through my Gemini Jr.  This was the first time I brought out the Burlap die and added a little Vintage Photo Distress Oxide ink around the edges.  Then I adhered it to the ivory card stock using Honey Bee Glue, I like that it is a larger tube-makes it a little easier for me to hold.  Next I added the pickup and a few silver baubles that I had in my stash.

Affiliate links used at no cost to you.  Not all links are affiliate, I just want to share what I used.  All products were purchase by me unless noted.  I don’t sell anything nor am I employed.  This is my hobby and I hope to inspire you to play :)

Wednesday, September 16, 2020

Birthday Slimline Underwater Card

I love anything that is water related!  My Favorite Things has a stencil that when used once and then rotate 3 times, looks amazingly like water!  Mine arrived over the weekend and I had to play today!

http://beverly2hearts.blogspot.com

http://beverly2hearts.blogspot.com


I chose to make a slimline card, underwater birthday card.  First I started with a sheet of Neenah 110lb card stock trimmed it to 4 1/4 x 8 1/2.  


Now, time to work with the stencil.  The stencil is approximately 6x6 so I did one section then flipped my card stock around to do the other side.  First I placed purple tape onto my glass media mat to place my card stock.  Then I prayed Pixie Spray onto the back of the stencil to keep in place.  Then I taped my card stock to the mat.  Tumbled Glass Oxide ink was used with a blender brush then I rotated the stencil and repeated inking until stencil has rotated 4 times.  To finish the other side, my card stock is flipped.  Finally, with a light touch, I blended Peacock Feathers all over to hide the seam of ink.


The second piece of card stock is inked with Vintage Photo and a blender brush.  Using my Gemini Jr I die cut the  “sand” piece with Slimline Stitched Hillside Borders and layered them for an ocean bottom.  Then adhered it to the “ocean” piece with connect glue.  Using the Large Slimline with sliders die I ran it through my Gemini Jr.  Finally I used the Small Slimline with Lift the Flaps Die on top and ran that through the Gemini Jr.


Now time to decorate!  Using some older My Monthly Hero Kit stamps I added seaweed with Hero Arts Ink.  Then I stamped with Versamark ink (in my MISTI) two coral pieces and applied Pink Puff Embossing powder and heat set.   Then using You are Sublime I stamped the sentiment with amalgam ink using my MISTI for easy placement.


I pulled out some previously stamped, colored and die cut fishes from You are Sublime and Gill Friends and played with arranging them before adhering with connect glue.  This was soooo fun to do!


Paradise card stock is trimmed to 8 1/2 x 7 and folded in half.  I then opened the flaps and make tick marks with a pencil for placement guide.  A sentiment is stamped with amalgam ink and previously colored images are attached.  I erased the tick marks with the couture creation tool.  Finally, the card top is adhered to the card base.


Have a great day and keep on crafting!


Affiliate links used at no cost to you.  Not all links are affiliate, I just want to share what I used.  All products were purchase by me unless noted.  I don’t sell anything nor am I employed.  This is my hobby and I hope to inspire you to play :)
Tuesday, September 8, 2020

Beach House Card

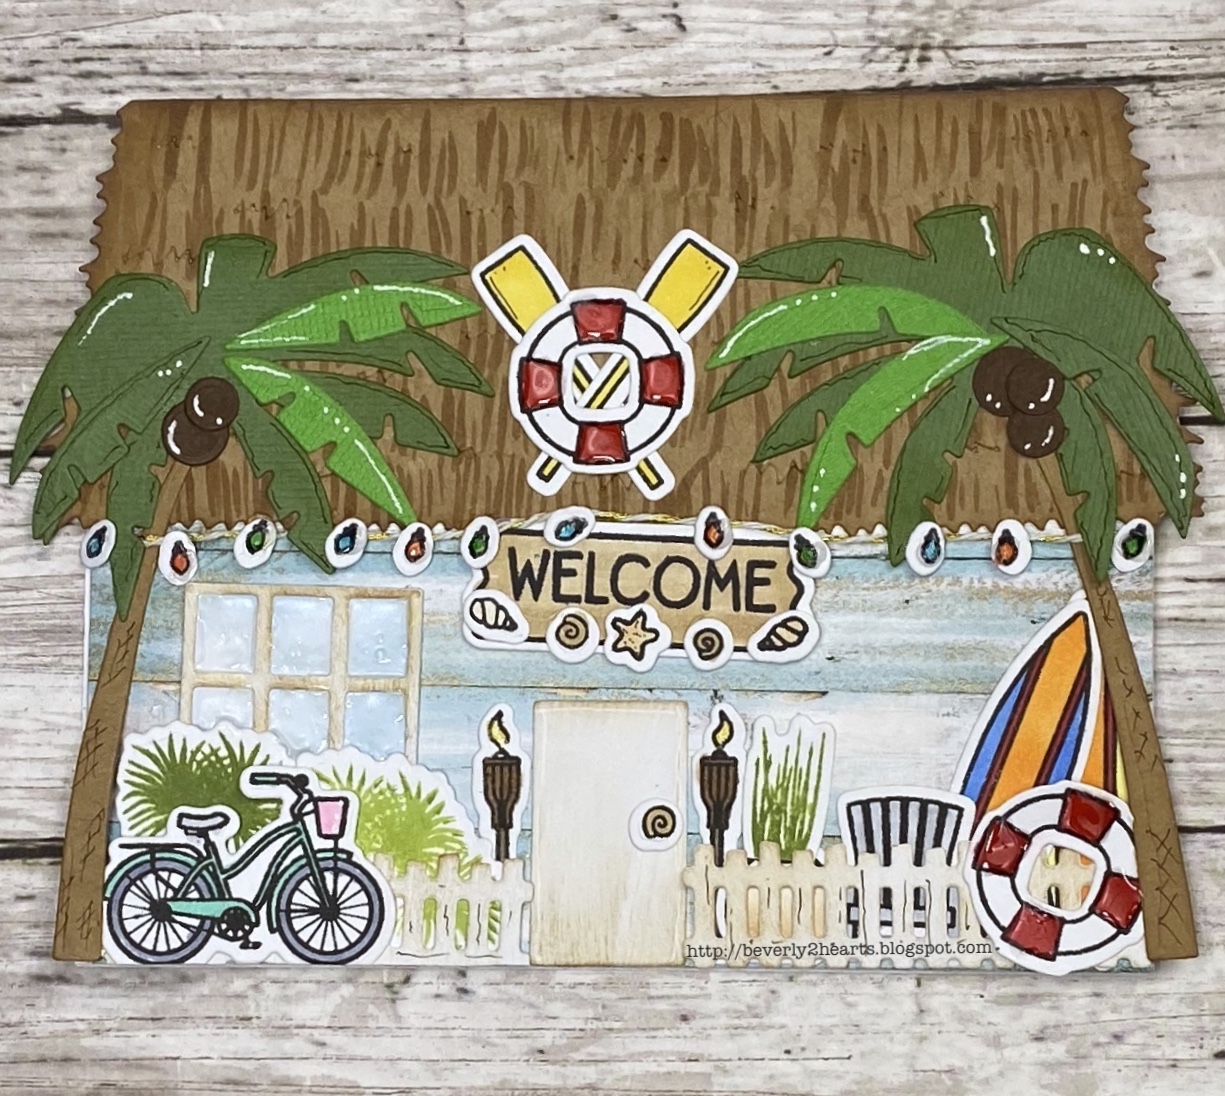
Honey Bee's House Builders Honey Cuts just make me happy, plain and simple!  I giggle every time I work with them. 

Using the Beach House Stamps and Honey Cuts have loads of options for your house.  My card started with the roof, I added copic coloring to mimic thatched roof.  For the siding, I used paper from Beach Vibes.  Next came stamping with Tuxedo Black and coloring with Copics.  Then comes die cutting, using my Gemini Jr., all the stamped images along with window, door, fence and other elements.  A little ink makes a big difference!  I decided I want most of my accessories inside the fence so I played with placement before I started to glue them down.  Instead of a traditional door handle, a shell works and shells are placed on the welcome sign.  Twinkle lights add sparkle and glossy accents add shine to the life preservers and window.  Micron Pen and Signo white gel pen adds detail.

http://beverly2hearts.blogspot.com

Have a great day and keep on crafting!

Affiliate links used at no cost to you.  Not all links are affiliate, I just want to share what I used.  All products were purchase by me unless noted.  I don’t sell anything nor am I employed.  This is my hobby and I hope to inspire you to play :)